Video Guide
Start with the video for a quick overview, then follow the written steps below.
Access the Branch Management Page
- From the sidebar menu, click Branches.
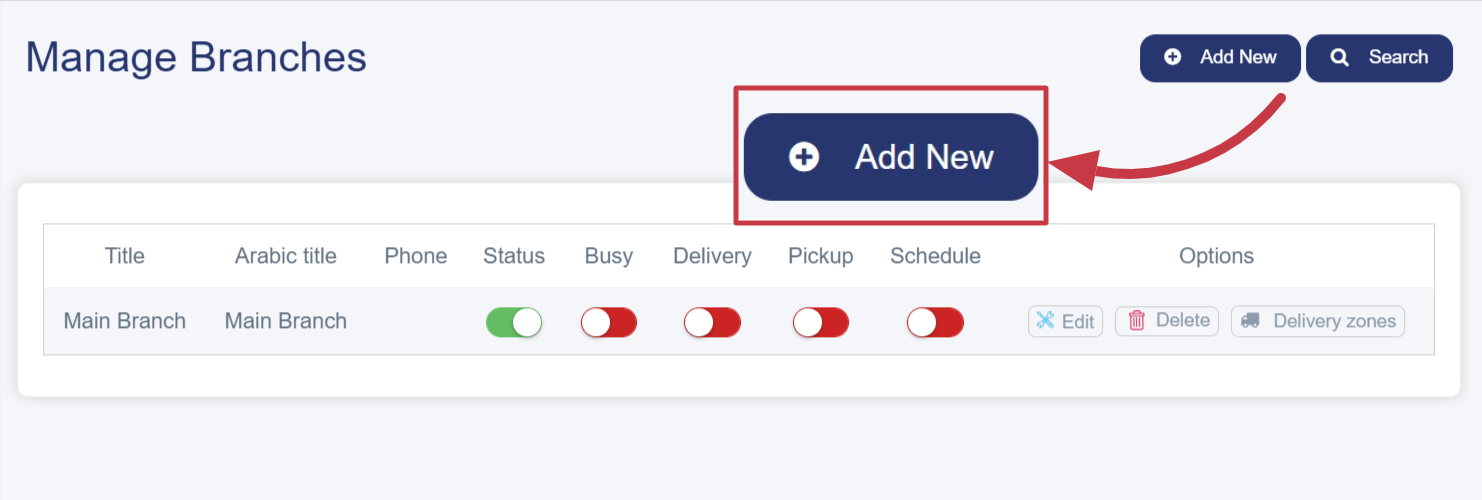
- A list of all existing branches will be displayed.
Create a New Branch
- Click the Add New button at the top-right corner of the page.
- You will be redirected to the New Branch Details page.
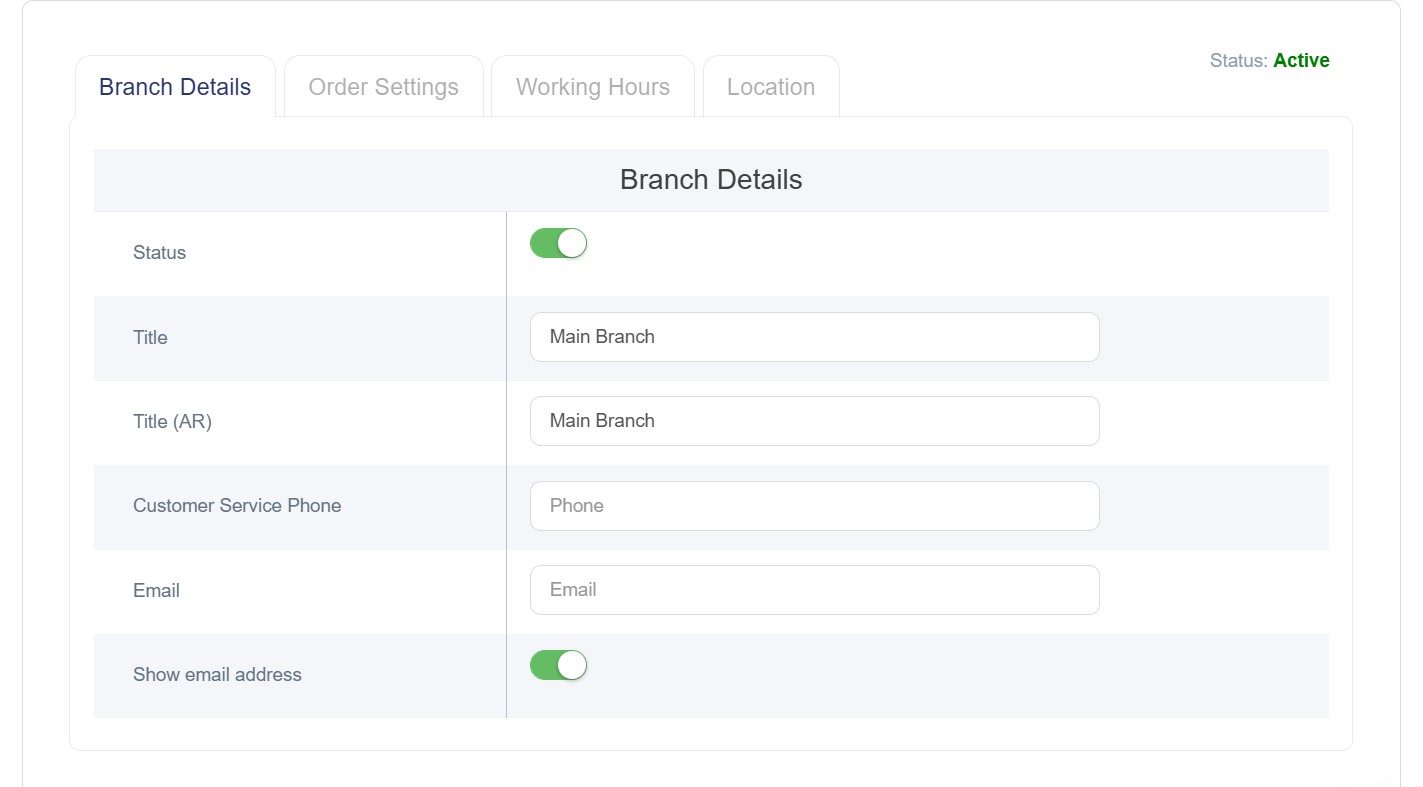
Enter Branch Information
- Status: Enable or disable the branch.
- Title (EN): Branch name in English and Arabic.
- Phone: Branch phone number.
- Email: Branch email address and option to display it to customers.
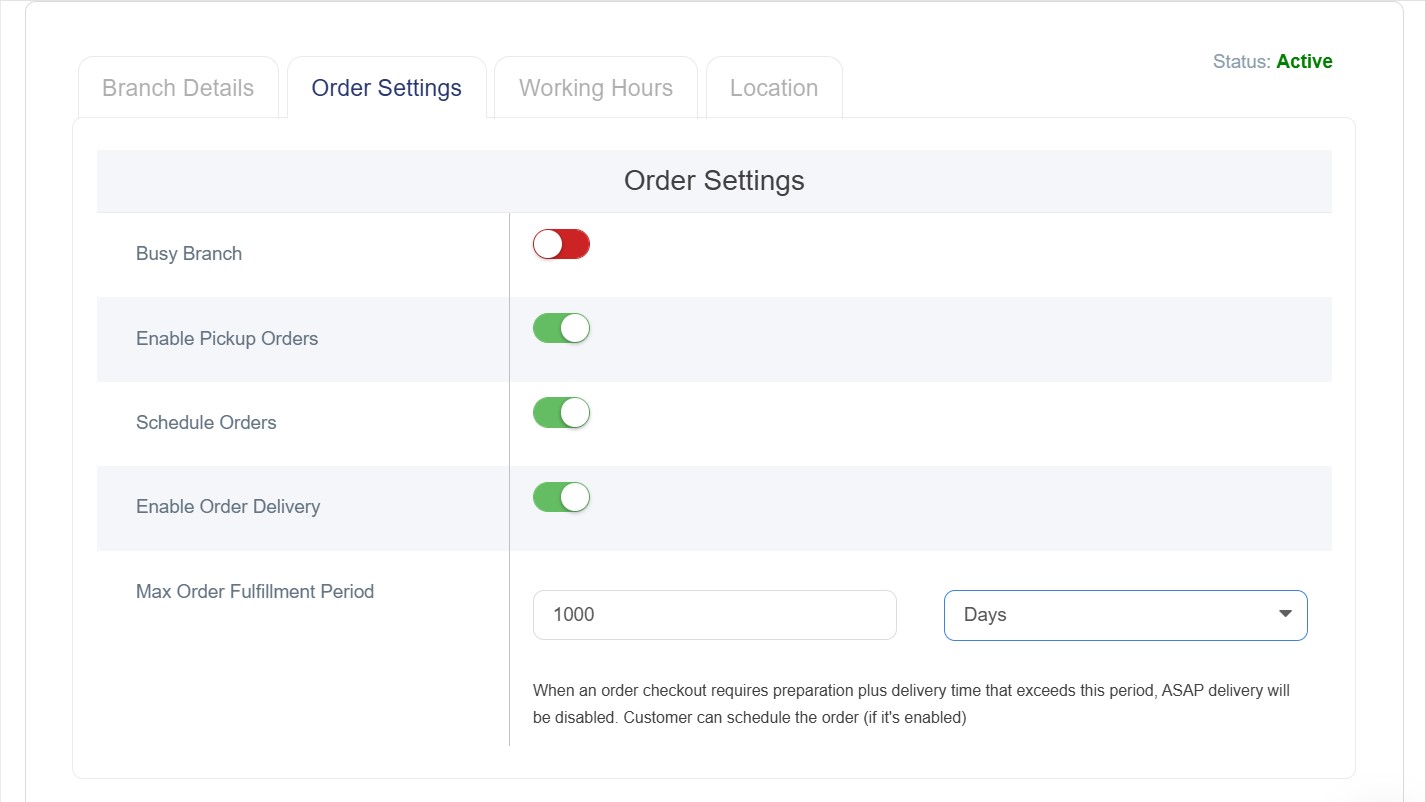
Order Settings
- Busy Branch: Specifies if the branch is currently unavailable. When enabled, customers will see a notification that the branch is busy and cannot accept orders at the moment.
- Enable order Delivery: Enable or disable delivery service for the branch.
- Enable Pickup Orders: Allow customers to pick up orders directly from the branch.
- Schedule orders: When enabled, allows customers to select a preferred time for product pickup according to their schedule.
Working Hours (Optional)
- Set Working Hours define the branch operating hours for each day of the week. The system operates 24 hours for order pickup from the branch.
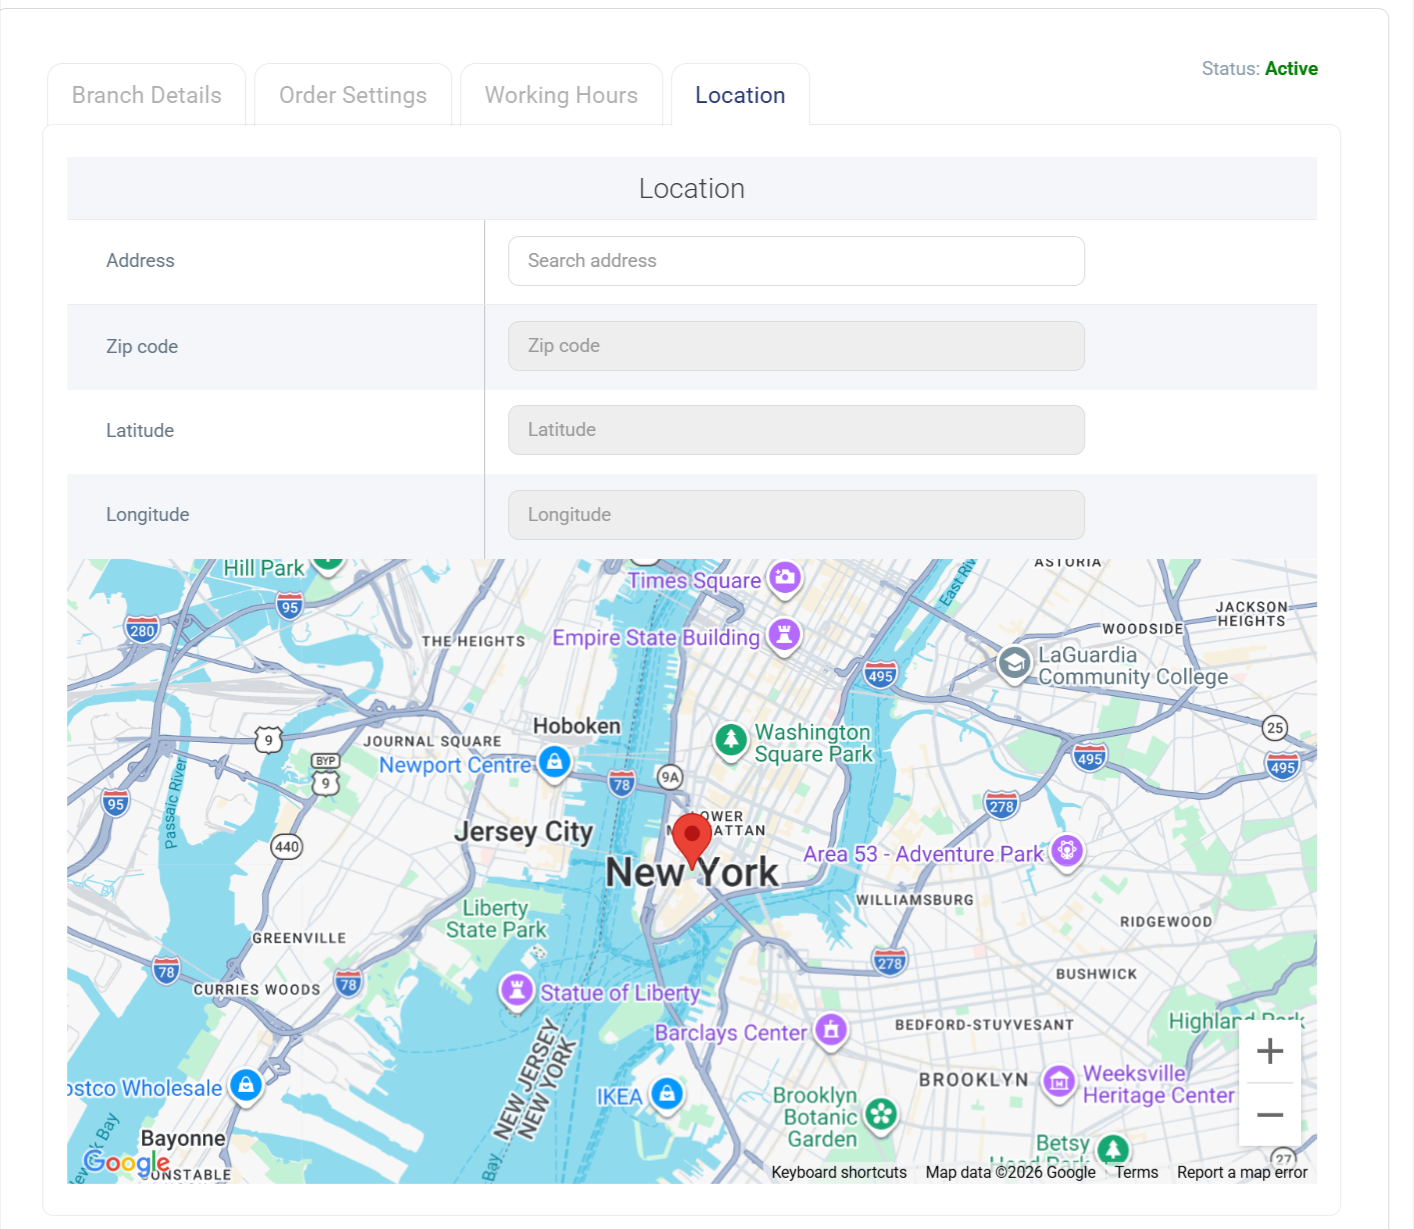
Location
- Address (EN): Full branch address.
- Zip Code: The postal code of the area, for example: 79567.
- The latitude and longitude are automatically determined when the address is entered.
Save Settings: Click the Save button at the bottom of the page. The new branch will be added to the branches list, and you can now view it in the branches table with all its details.
Delivery Zones
After saving the branch details, you can now easily add and customize the delivery zones for
the branch by following these steps:
- Click the Delivery Zones button in the Actions column next to the desired branch.

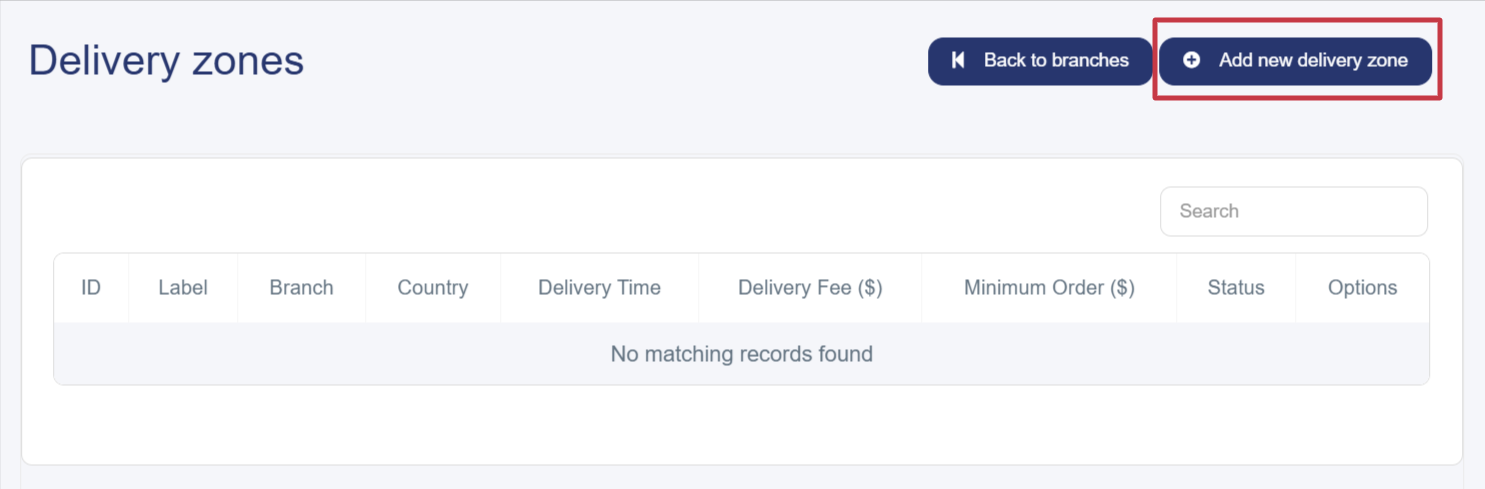
- You will be redirected to a new page titled Delivery Zones, which may initially be empty if no zones have been added before.
- Click the Add New Delivery Zone button at the top-right of the Delivery Zones page.
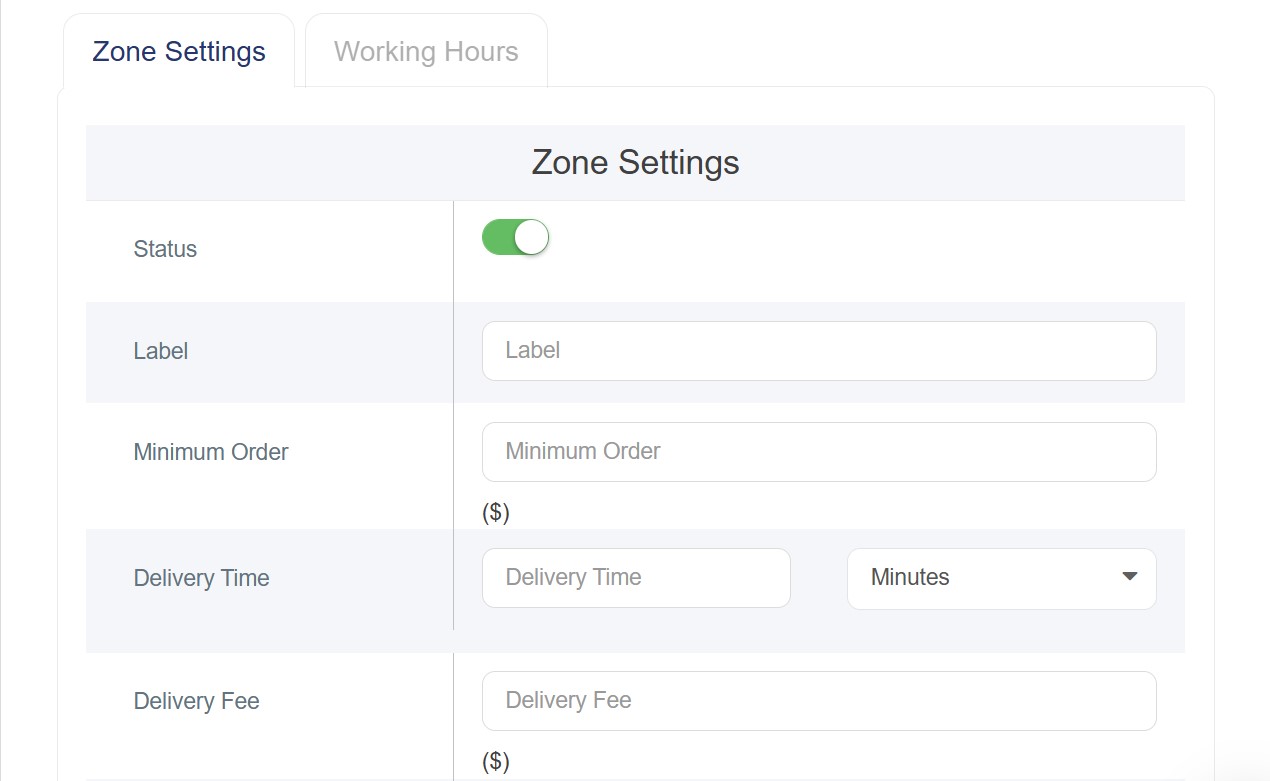
§ Zone Settings: A settings page will appear with several options:
· Status: Enable or disable the zone using the toggle switch at the top of the page.
· Label: Enter a clear name for the zone, such as "Capital Area" or "Jahra," to make it easily identifiable.
· Minimum Order: Specify the minimum order value a customer must reach to place an order in this zone.
· Delivery Time: Enter the estimated delivery time in the designated field and select the time unit from the dropdown menu (minutes, hours, days).
· Delivery Fee Based on Weight: Enable this option if you want to calculate the delivery fee based on the order’s weight.
· Delivery Fee: Set a fixed delivery fee for this zone.
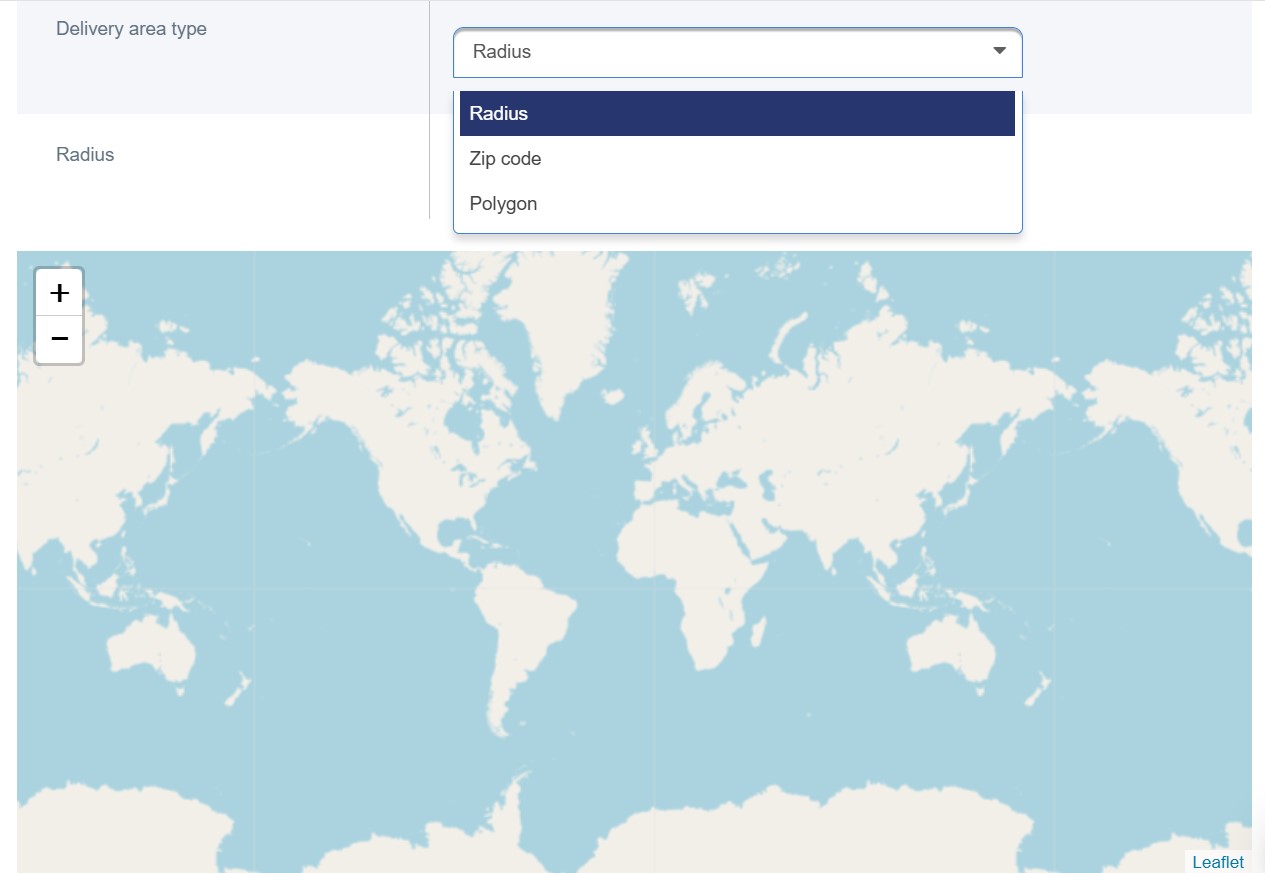
· Delivery Area Type
This is the most important part of the setup, as it defines the geographical shape of the delivery area. There are three main options available:
• Option 1: Radius
This option defines the delivery area as a circle around the branch with a specified radius. After selecting this option, a Radius field will appear to enter the radius value (usually in kilometers or miles). This option is ideal for branches that serve a uniform area around their location.
• Option 2: Zip Code
This option defines the delivery area based on entered zip codes. It is commonly used in countries where postal codes are a clear geographical standard, allowing you to cover separate and non-connected areas.
• Option 3: Polygon
This option allows you to draw a custom delivery area freely on an interactive map by selecting points that form the boundaries of the area. It is the most accurate and flexible option, as it enables you to exclude specific areas or define irregular geographic boundaries.
§ Working Hours: specify delivery hours for each day of the week, noting that the system operates on a 24-hour delivery schedule.
§ Save Settings: Click the Save button at the bottom of the page. The new zone will be added to the branch’s delivery zones list. You can now view the zone in the delivery zones table with all its details.