Why You Might Need to Create Orders Manually
Orders in online stores are not limited to those placed directly through the website. Sometimes, the store owner may need to manually add orders from the dashboard—such as phone orders, VIP customer requests, or special cases that require direct handling.
The Cartley platform provides an easy-to-use and professionally organized interface for managing and creating new orders through simple and clear steps.
This feature allows you to deliver excellent customer service by entering orders directly without redirecting customers to the website. It also helps manage customized or special requests and serves customers who prefer traditional ordering methods.
Moreover, it enables centralized order management from all sales channels in one place—enhancing operational efficiency and ensuring a professional and consistent shopping experience for your customers.
Detailed Steps to Add a New Order
1. Log in to your store’s dashboard on Cartley .
2. From the main menu, click on the “Orders” section.
3. You’ll see a page displaying all existing orders in your store.
4. At the top of the page, you’ll find several options for managing orders, including adding a new point of sale.
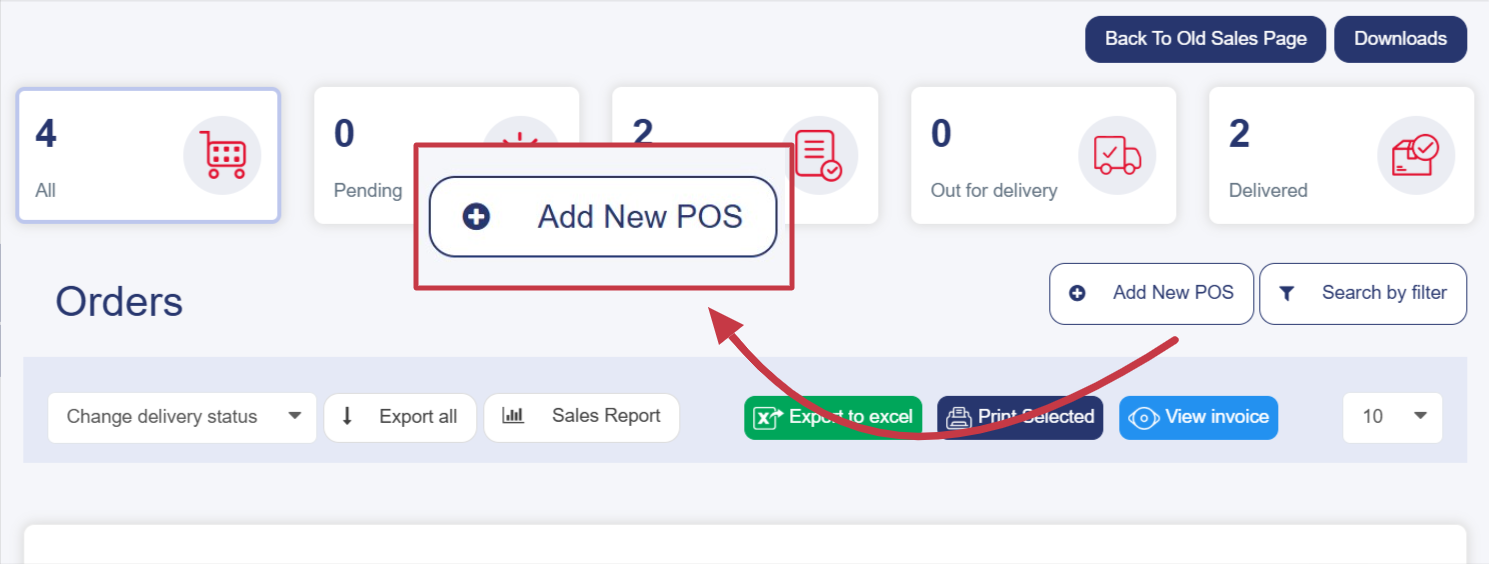
5. Click this button to open a new interface with two main fulfillment options. Choose one of the following:
§ Delivery Order: for orders that will be delivered to the customer’s address.
§ Pickup Order: for orders that the customer will collect in person from a branch or pickup point (no delivery information required).
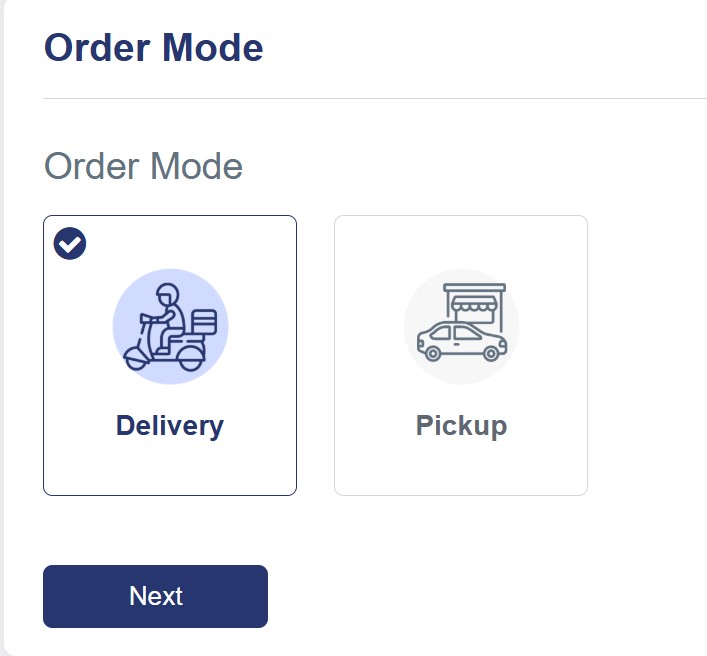
6. Click the “Next” button at the bottom of the page to open the Delivery window.
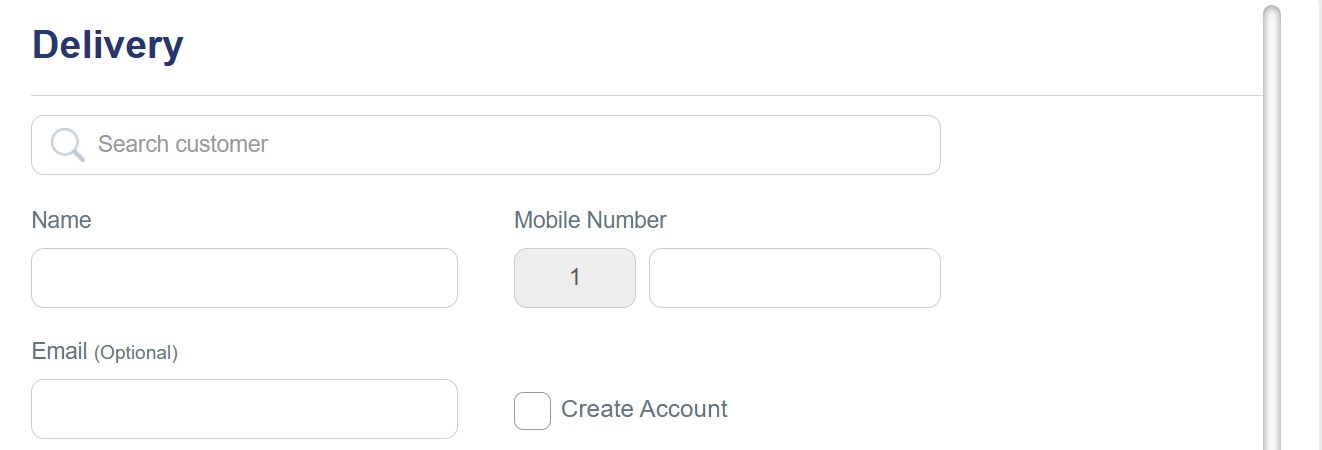
7. You can enter the customer’s information in two ways:
§ Search for an existing customer using the search bar at the top of the page—their details will be filled automatically once selected.
§ Enter customer details manually, including:
Customer data
1. Customer Information:
· Full name
· Phone number
· Email address (optional)
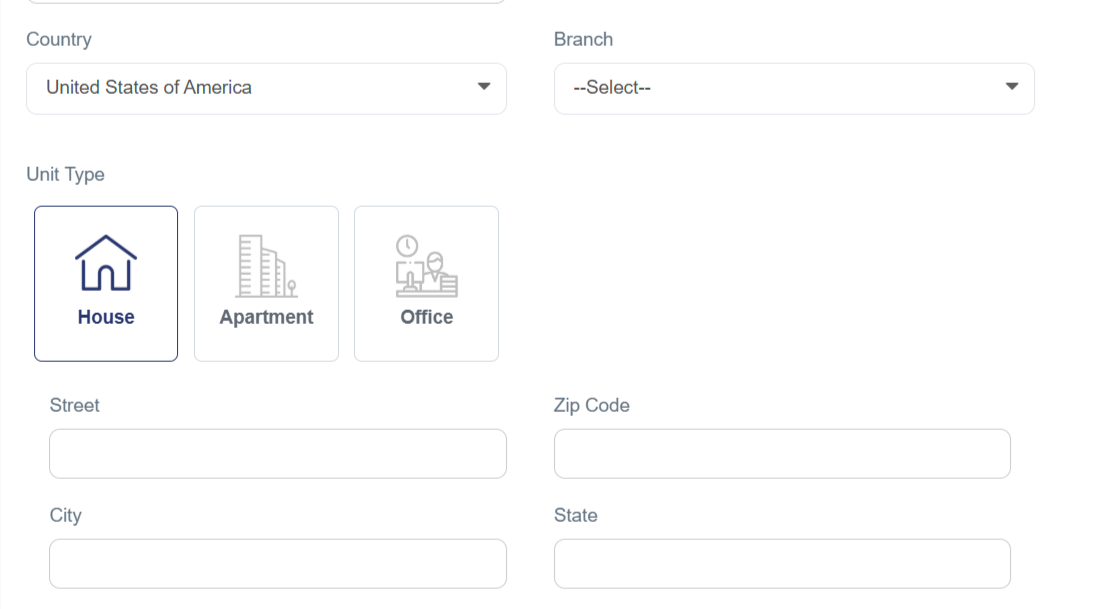
2. Delivery Address:
· Country
· Branch
· Address type (Home, Apartment, or Office)
· Street, Zip Code, City, And State
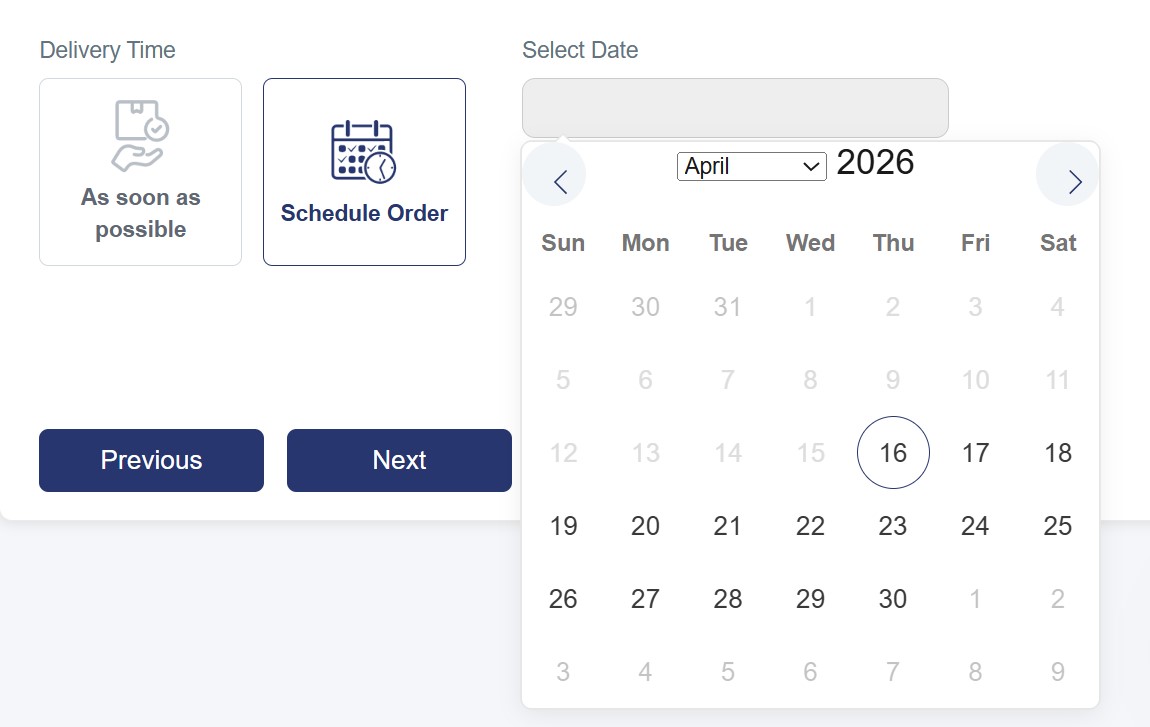
3. Delivery Time: choose as soon as possible or schedule for later.
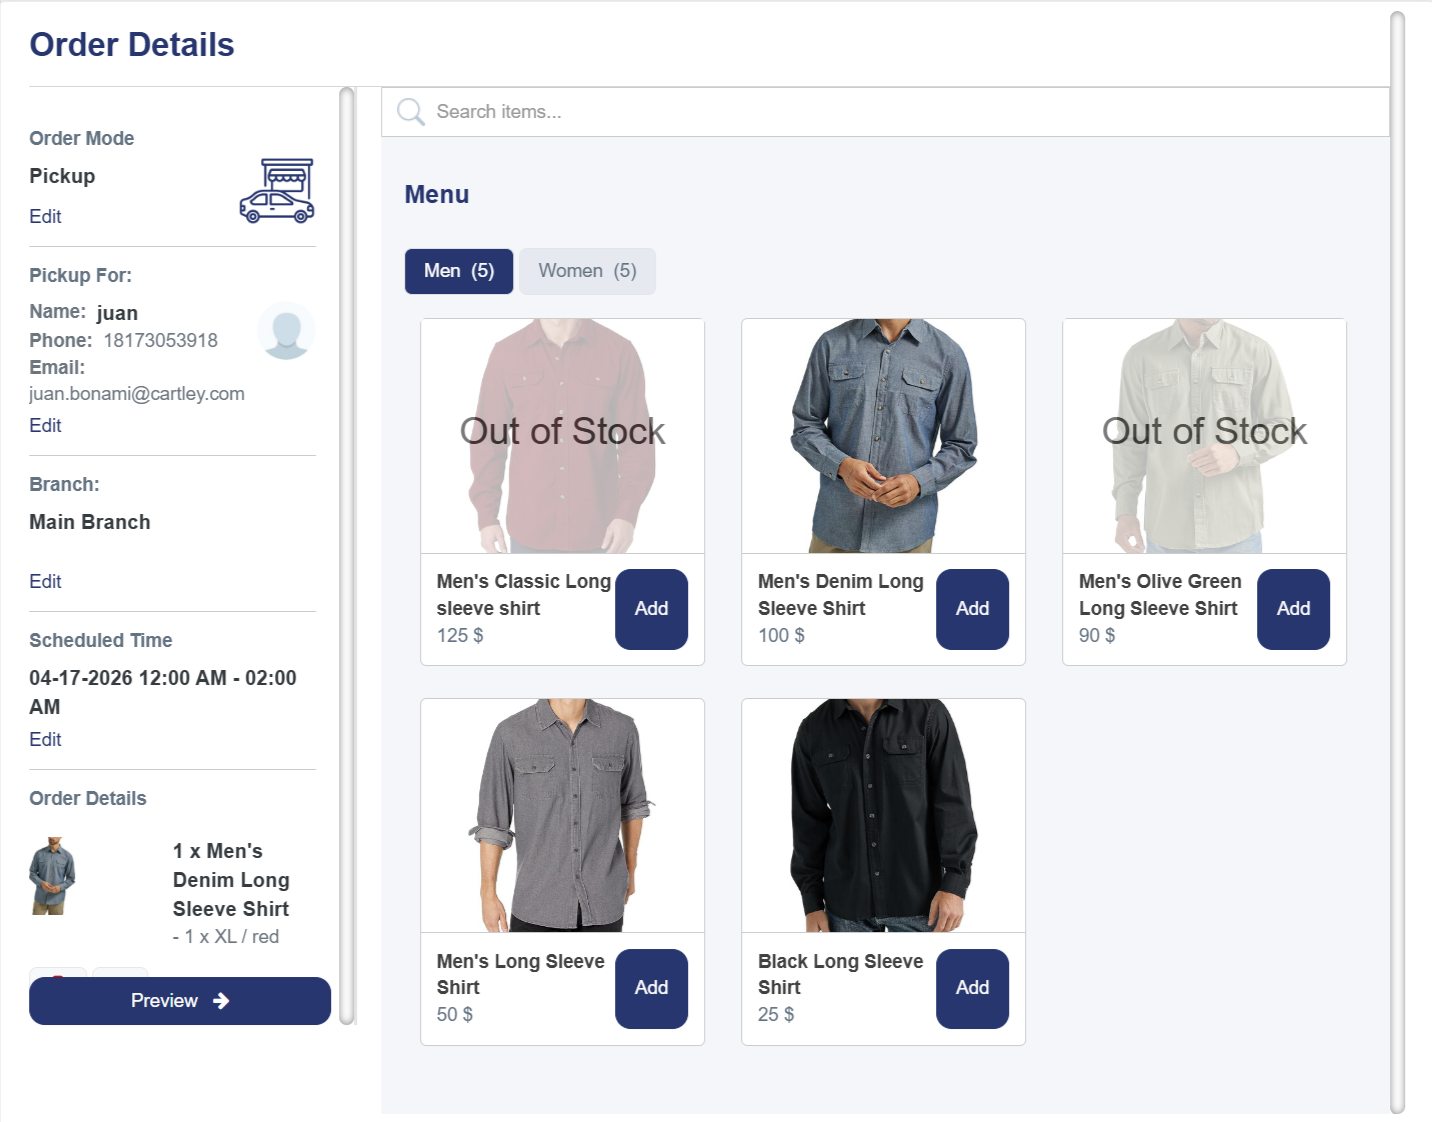
8. Select and add products to the order:
Add products interface
After clicking “Next,” you’ll see the product selection interface, which includes:
· Available store products: you can add items from the product list by clicking “Add” or by searching for a specific product using the search bar at the top of the screen. Products are displayed clearly with their names and prices.
· Order details: located on the lift side of the window, showing:
§ Order Mode: Delivery or Pickup
§ Deliver to: customer’s name, phone number, and address
§ Branch: branch name and number (if applicable)
§ Schedule Time: delivery date and time
§ Order details: added products and any modifiers
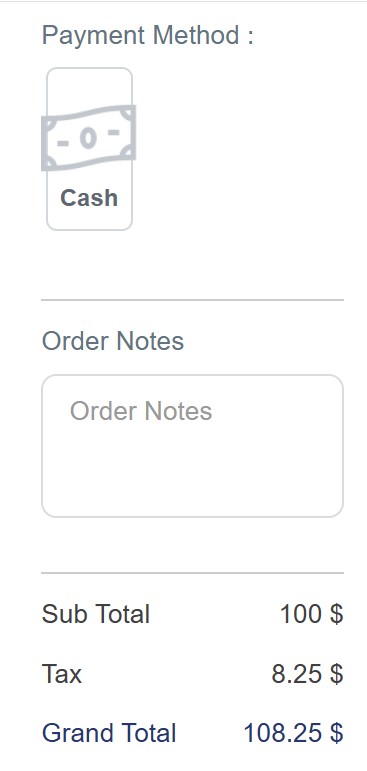
Complete the order
§ Preview button: opens a window where you can add a discount coupon, select a payment method, and view the subtotal and total amount.
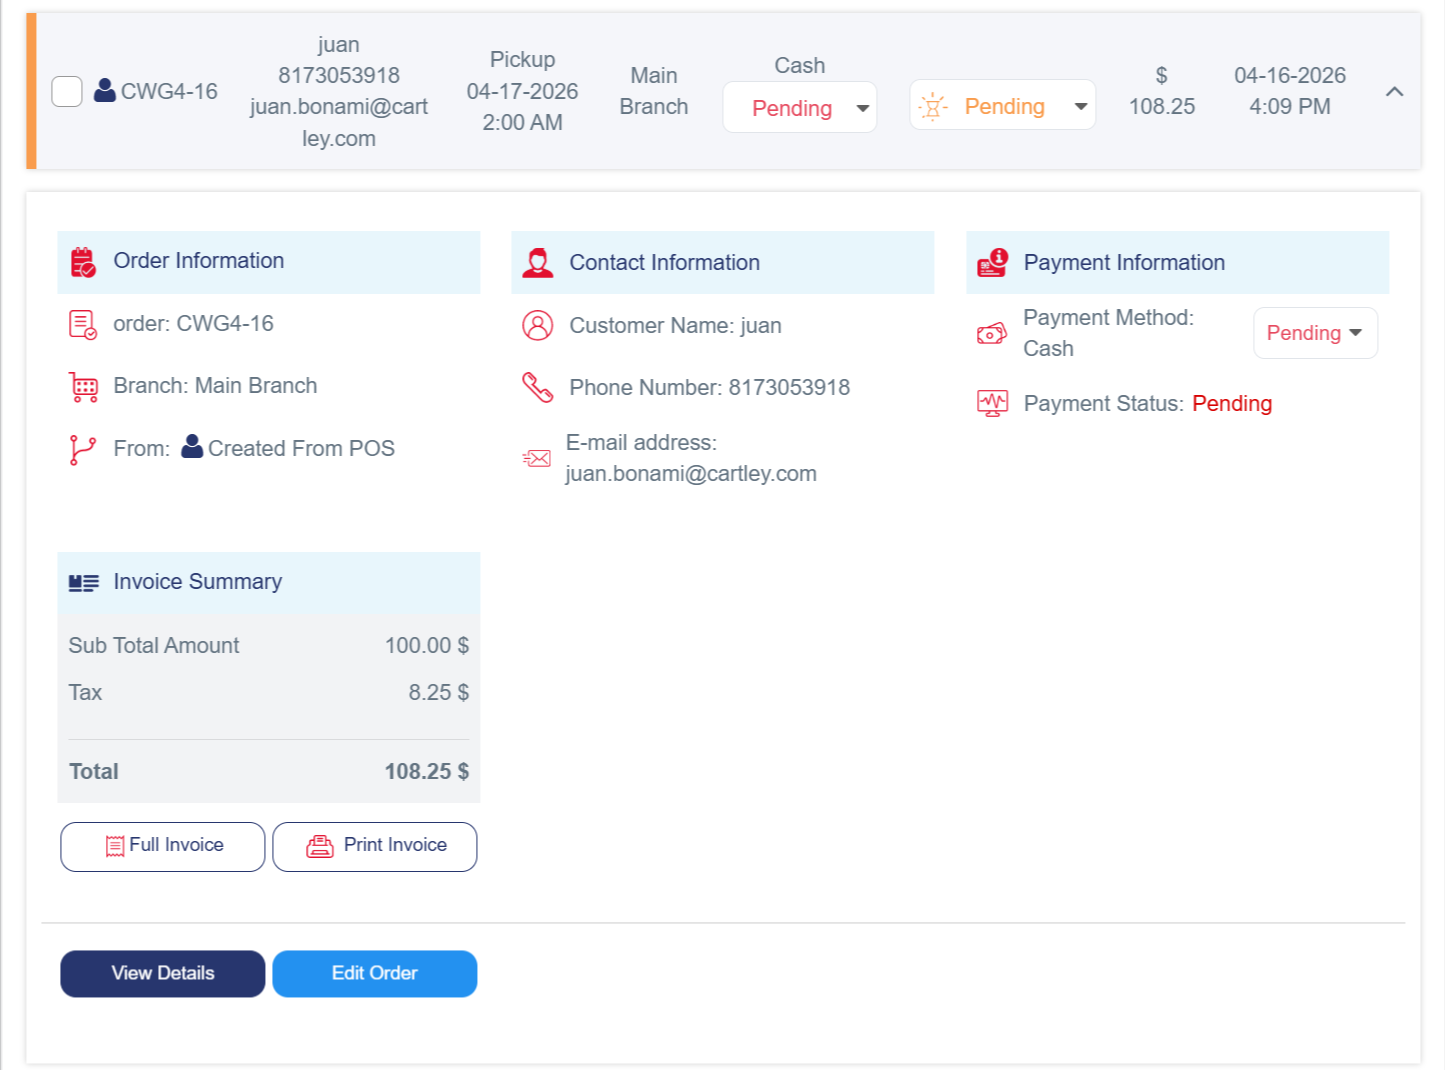
9. Save the order so it appears in the order list on your dashboard.