Introduction
Departments (Sections) serve as the fundamental pillar for organizing the storefront and guiding the customer journey. They are far more than just product classifications; they are the primary gateway that defines the overall shopping experience.
Upon a customer’s first visit to the site, these sections appear as a critical interactive step, enabling them to:
- Select Country and Language: Ensuring that the displayed content and pricing are accurately localized.
- Define Interests: Directing customers straight to the categories they are looking for (such as Home Appliances, Smartphones, or Computers), which streamlines browsing and boosts conversion rates.
Through the Dashboard, you can manage these sections with high precision. Each section acts as a dedicated window, ensuring your customers reach your products in the shortest time and with minimal effort.
Steps to Add a New Department
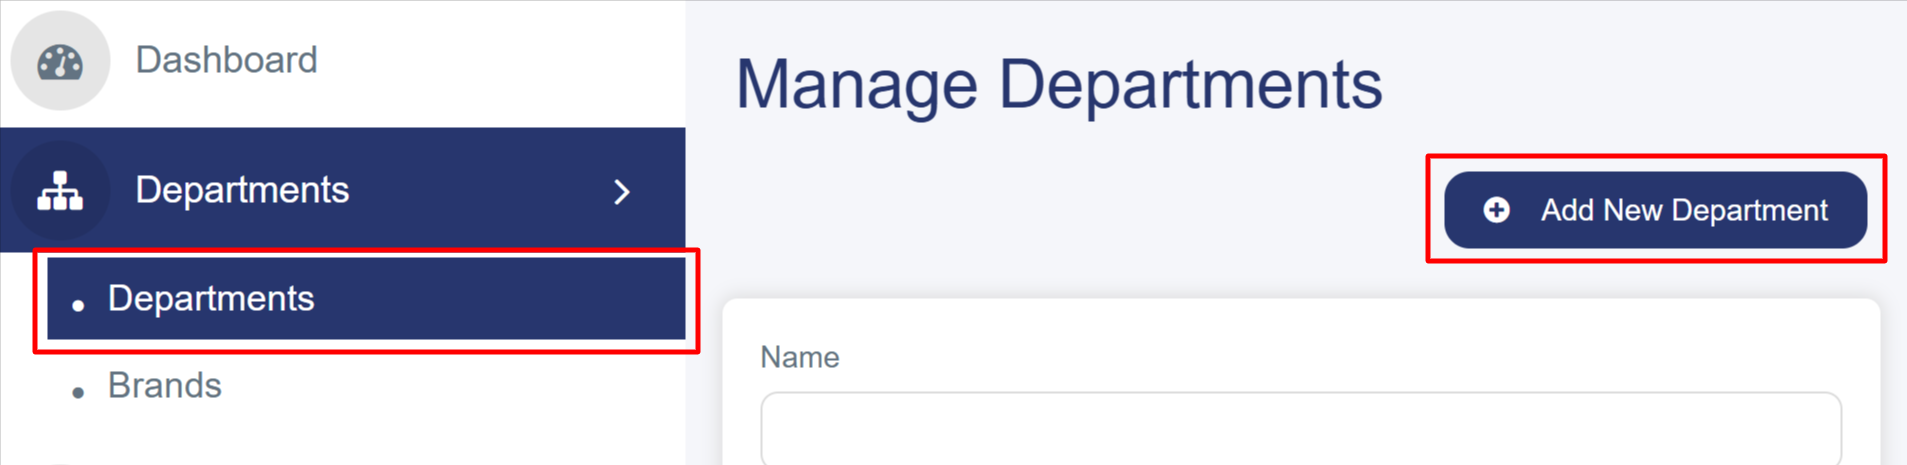
First: Accessing the Department Creation Page
- From the left sidebar, click on "Departments".
- Select "Departments" from the submenu.
- Click the blue "Add New Department" button located at the top right of the screen.
Second: Filling in the Department Details Tab
1. Basic Details
- Department Name (English): Enter the name of the department in English.
- Sort Order: Enter a numerical value to determine the display priority for this department. (Lower numbers will be prioritized and appear first).
- Status:Toggle the switch to Activate or Deactivate the department:
- Red (Off): The department is disabled and hidden.
- Green (On): The department is active and visible to customers.

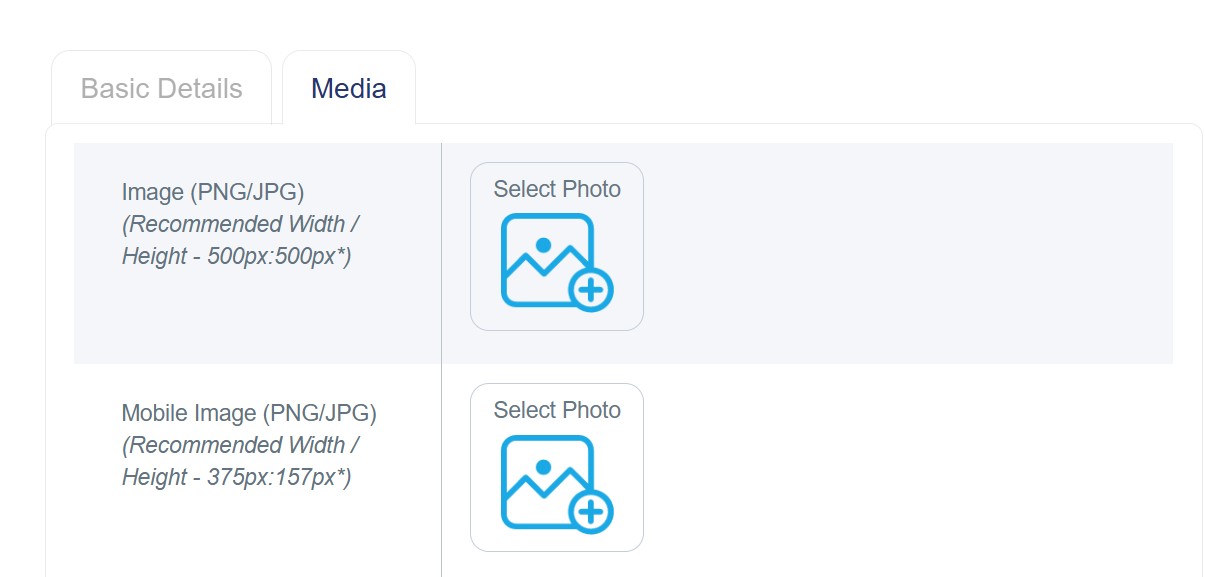
2-Media
Uploading Department Images
Main Image (Desktop): This is the image displayed during the initial presentation of the department when a customer first enters the site, guiding them directly to their preferred category.
1. Click the "Choose Image" button.
2. Upload the image file. Recommended formats: (JPG / JPEG).
3. Recommended Dimensions: 500px (Height) × 500px (Width) for optimal display.
Mobile Image: This is the image specifically optimized for mobile viewing, shown to mobile users during their initial site entry to streamline their navigation.
1. Click the "Choose Image" button.
2. Upload the image file. Recommended formats: (JPG / JPEG).
3. Recommended Dimensions: 157px (Height) × 375px (Width) for optimal display.
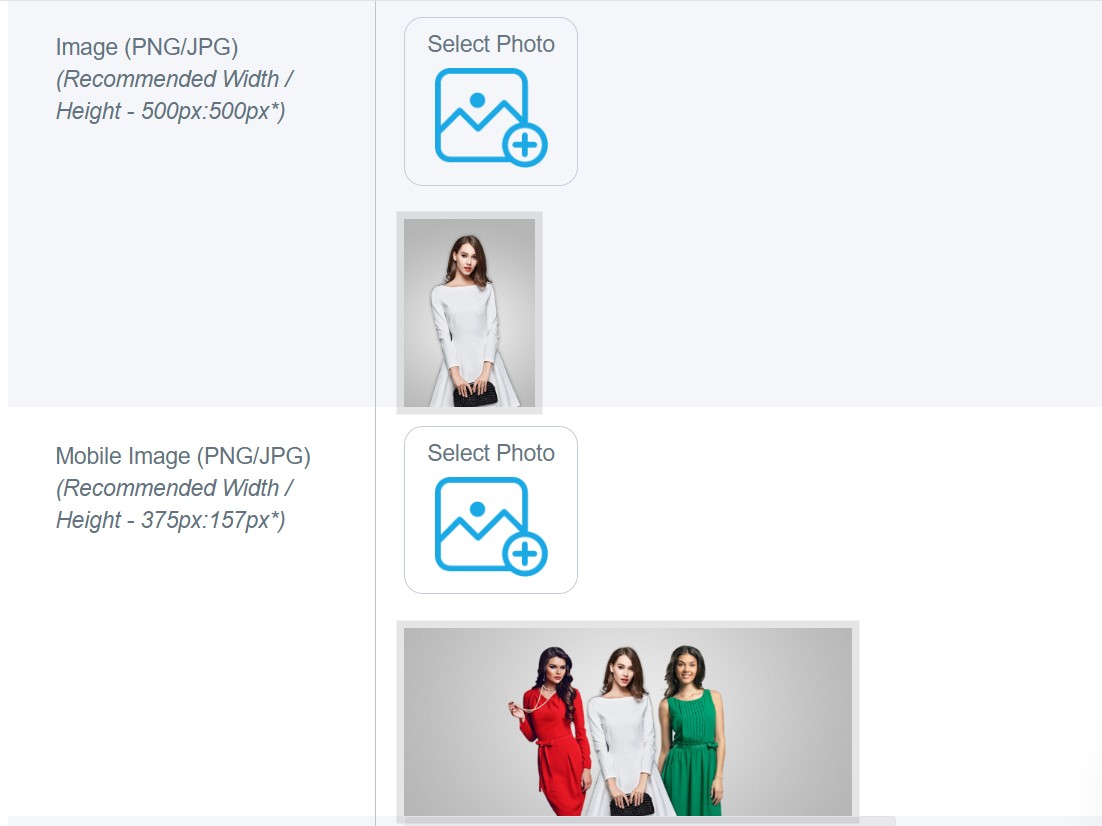
Example:
The image for the "Women" department has been successfully added, as illustrated below.
Customers can also navigate between departments from the top of the homepage:

Top, Middle, and Bottom Banners
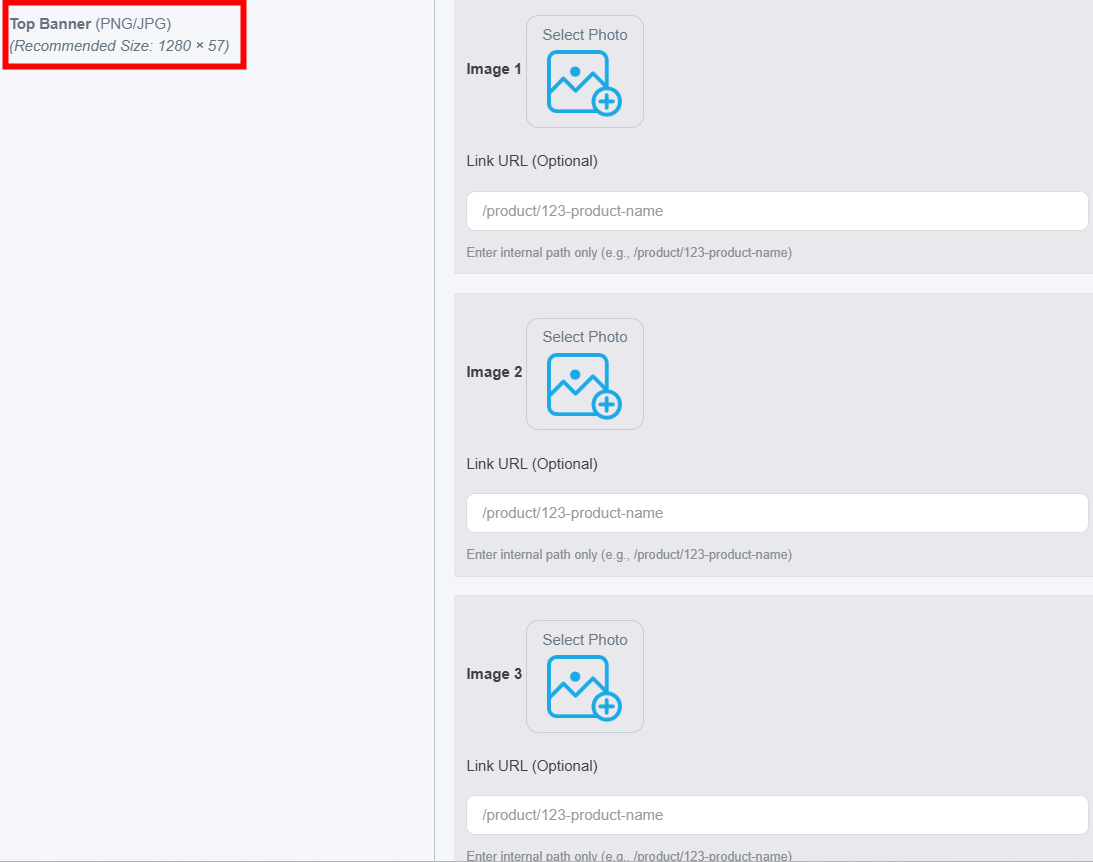
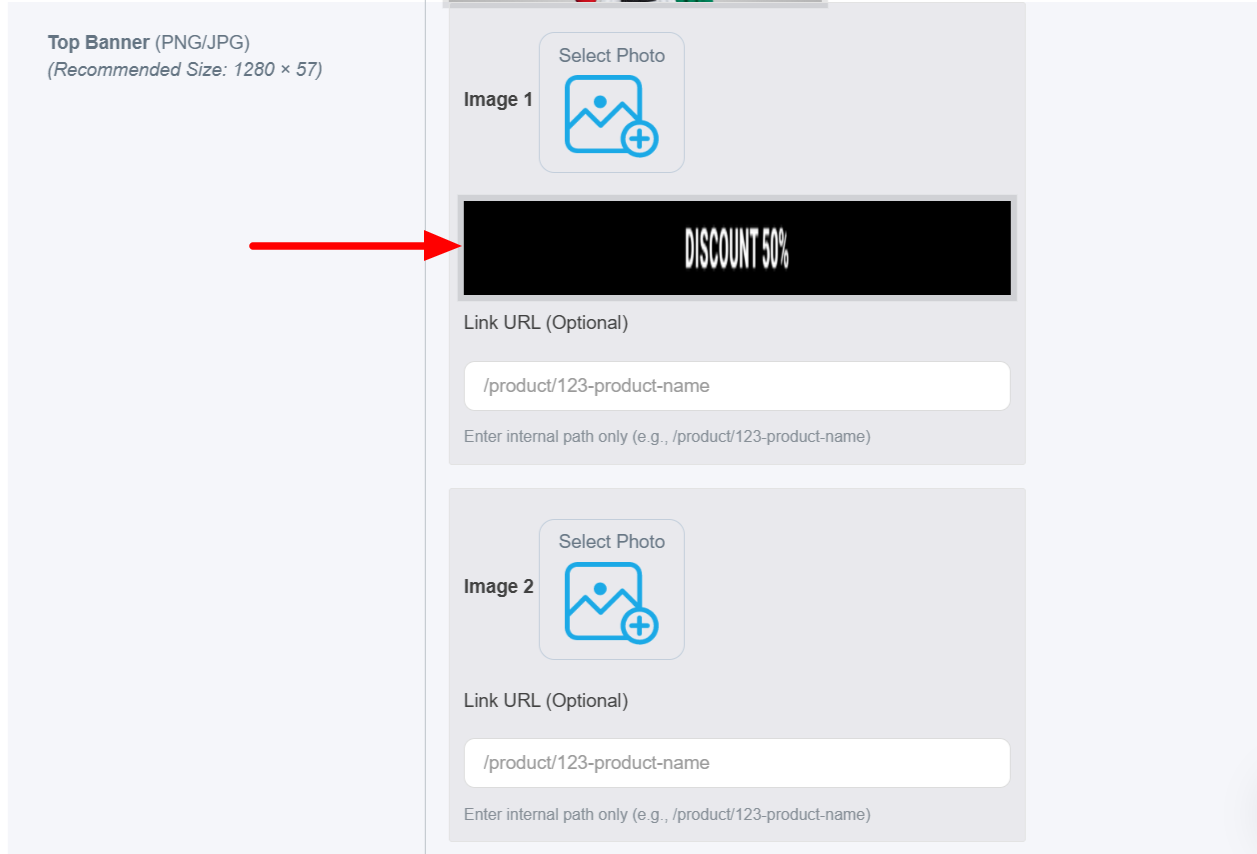
1. Top Banner
- Placement: Appears at the very top of the store, directly positioned beneath the navigation bar.
- Function: It serves as the primary "Welcome Message." It is typically used to announce permanent general offers that appeal to every visitor, such as "Free Delivery."
- Technical Features: It supports multiple image uploads (Image 1, 2, 3) with the ability to assign an internal link to each image. This directs customers to a specific department or product.
- Recommended Dimensions: 57px (Height) × 1280px (Width).
Example:
The image has been successfully added via the " Image 1" option using the recommended height and width dimensions.
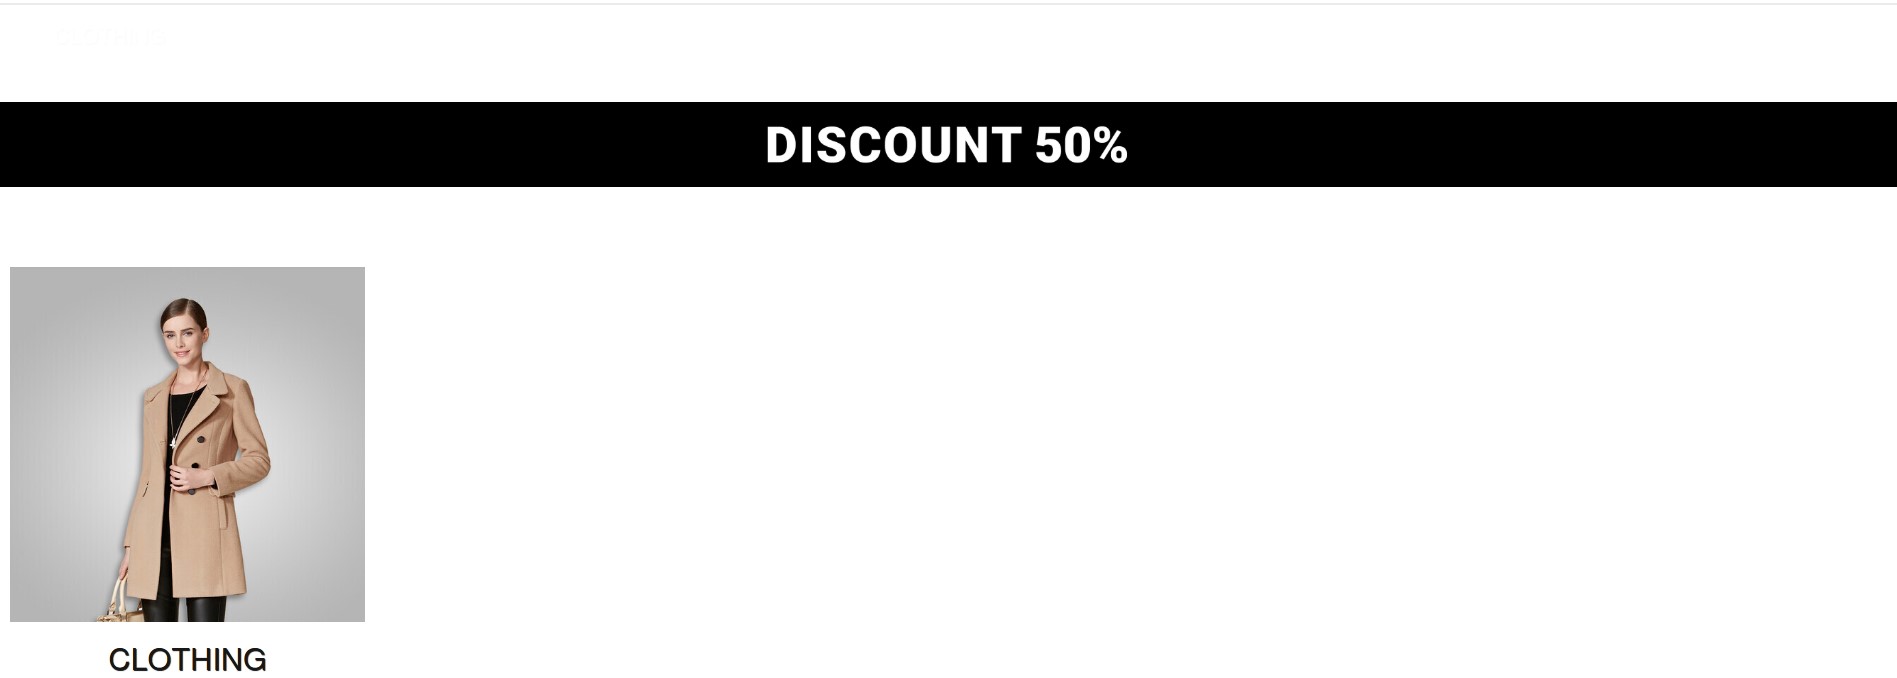
It will appear on the website as shown below:
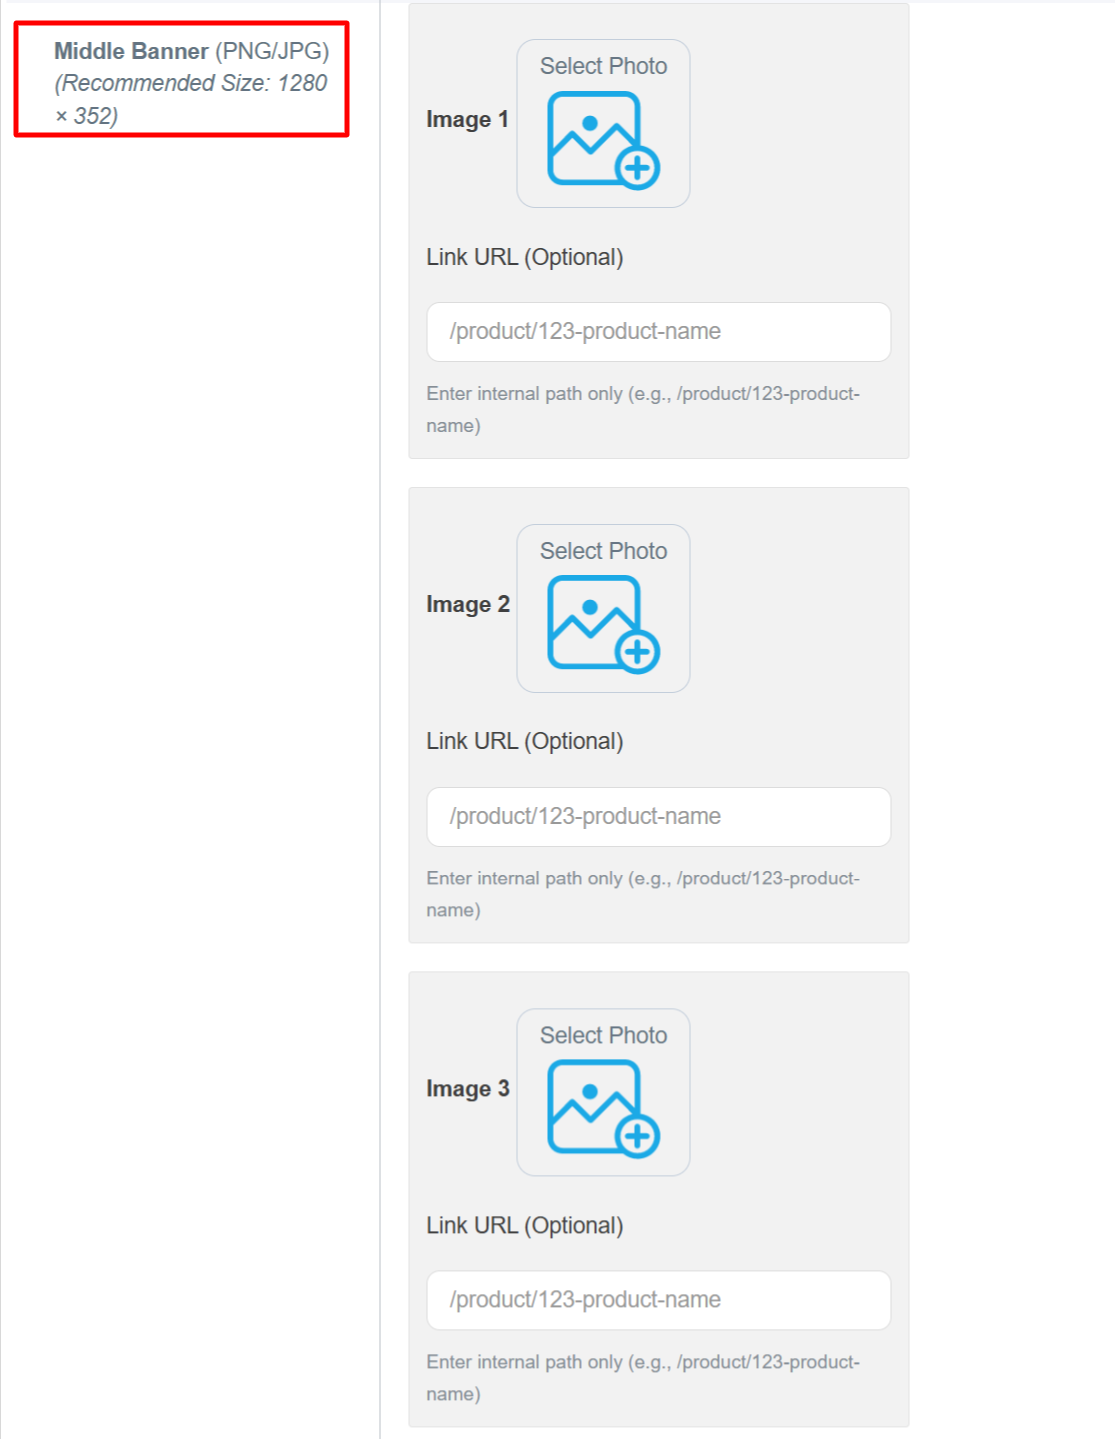
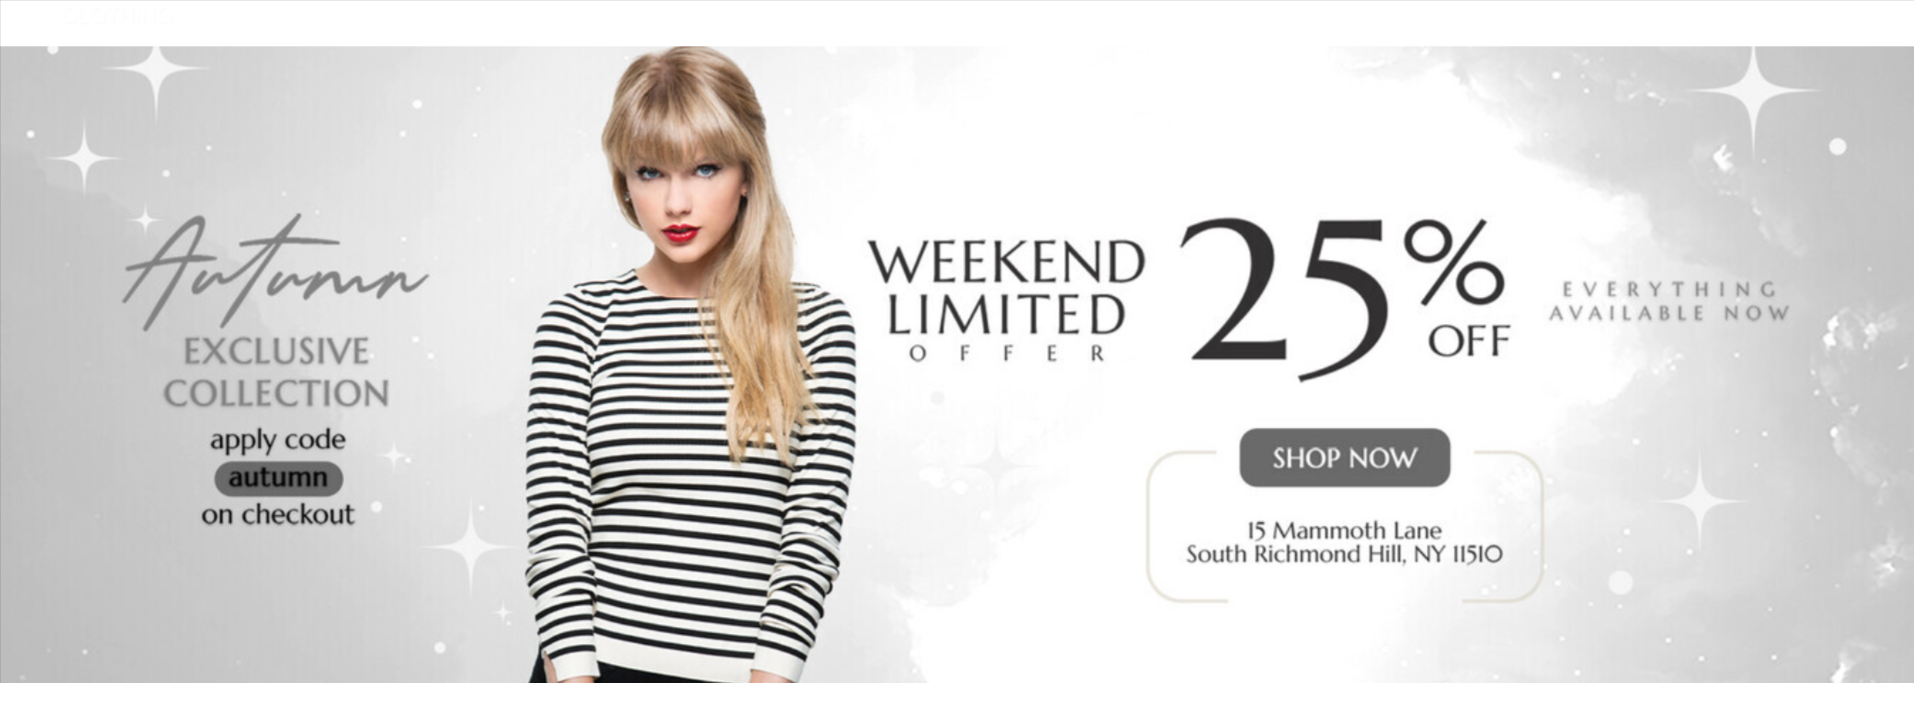
2. Middle Banner
- Placement: Located in the heart of the homepage; it is the largest and most prominent section of the store.
- Function: Acts as the "Grand Promotions Showcase." It is ideal for highlighting major seasonal campaigns, such as Up to 25% Off" discounts.
- Technical Features: Supports multiple image uploads (Image 1, 2, 3), allowing you to attach an internal link to each image to direct customers to specific departments or products.
- Recommended Dimensions: 352px (Height) × 1280px (Width).
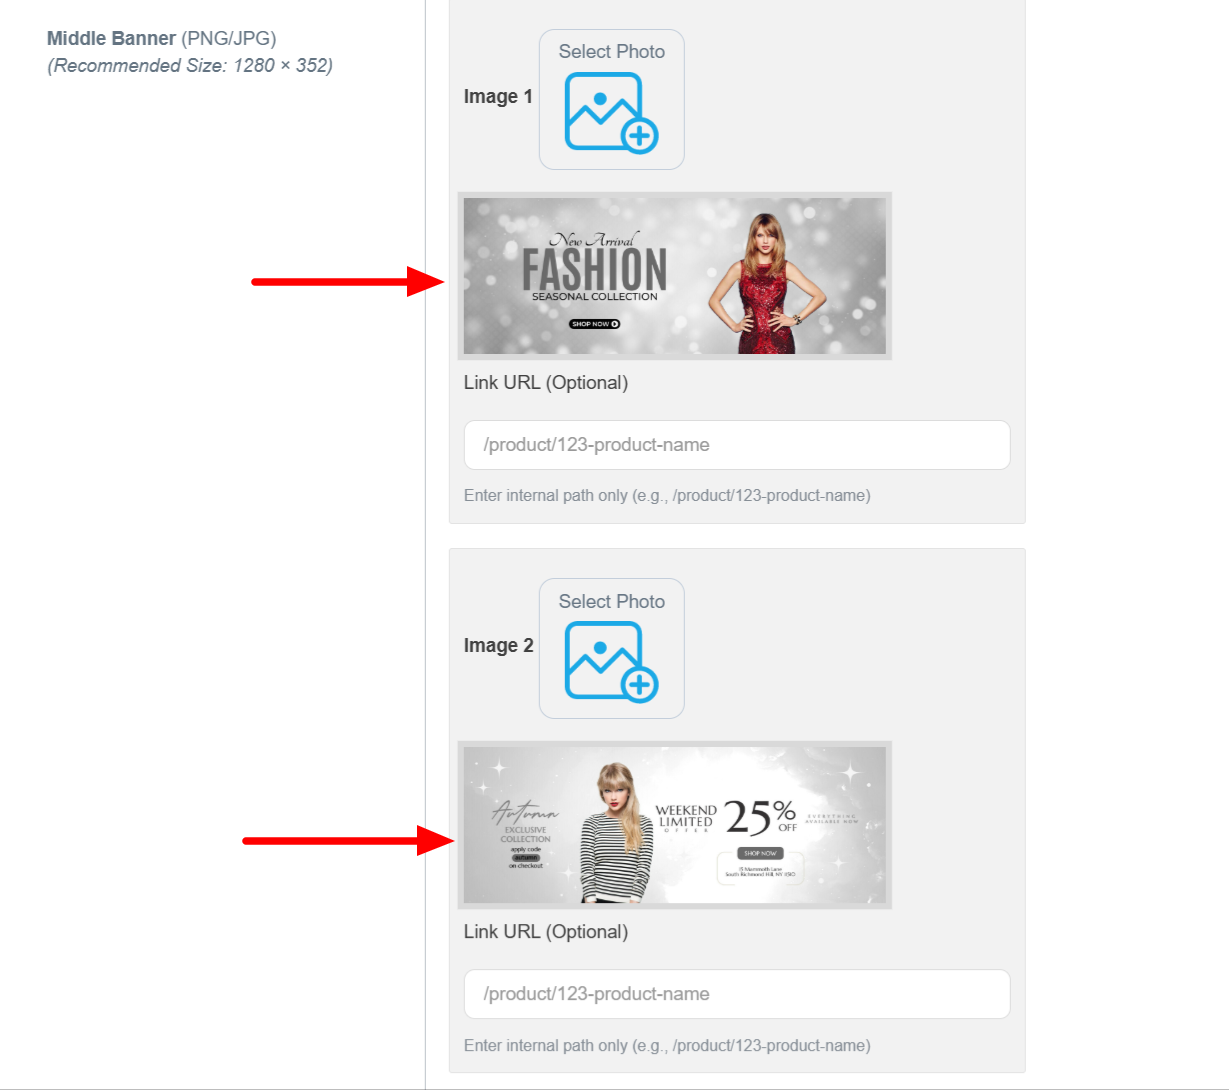
Example: Three images successfully uploaded to the Middle Banner slider according to the recommended dimensions.
It will appear on the website as shown below:

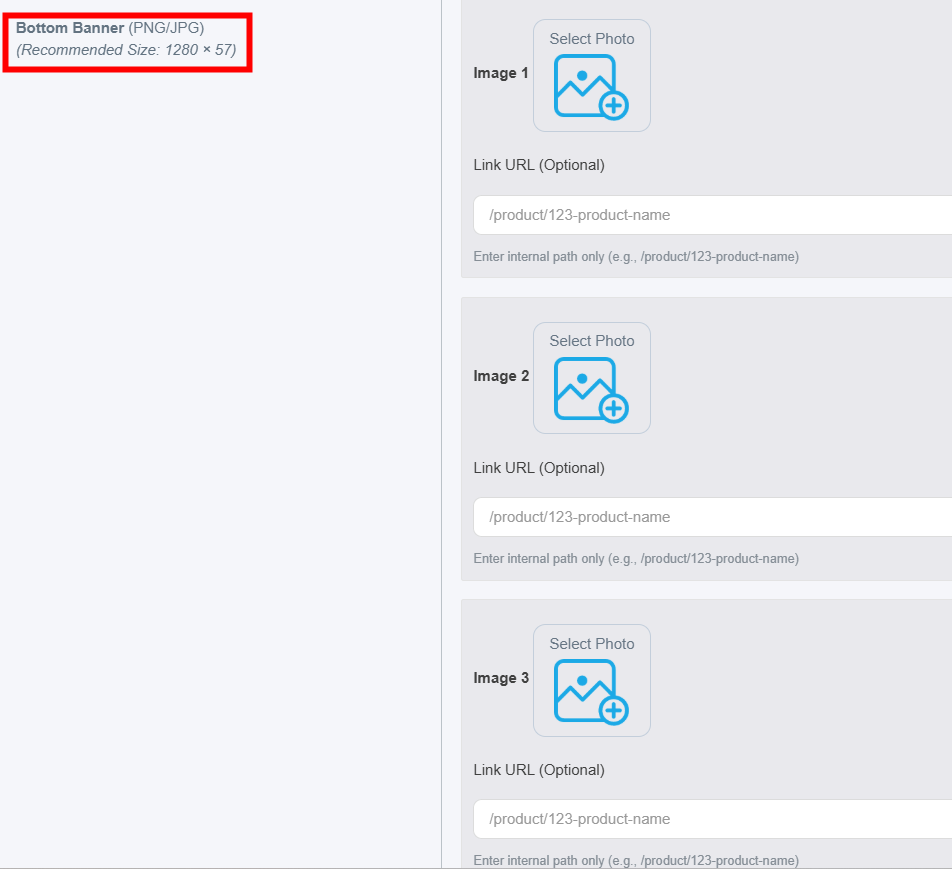
3. Bottom Banner
- Placement: Positioned within the lower sections of the homepage.
- Function: Acts as a "Last Opportunity" to engage the customer before they leave the page. It often focuses on exclusive offers or specific complementary product categories.
- Technical Features: Supports multiple image uploads (Image 1, 2, 3), with the ability to attach an internal URL to each image, directing customers to a specific department or product.
Example:
The image has been successfully added via the " Image 1" option using the recommended dimensions:
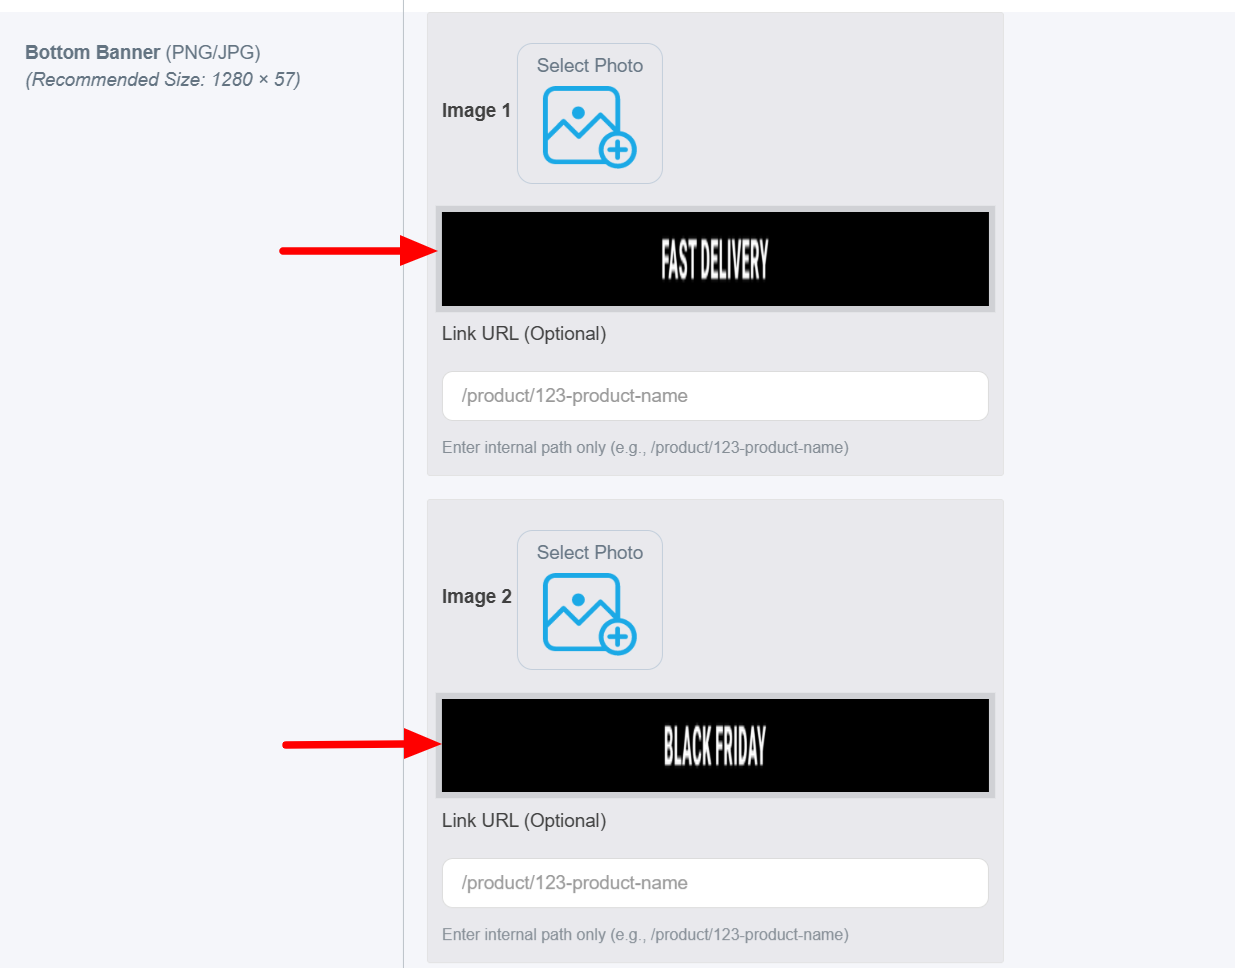
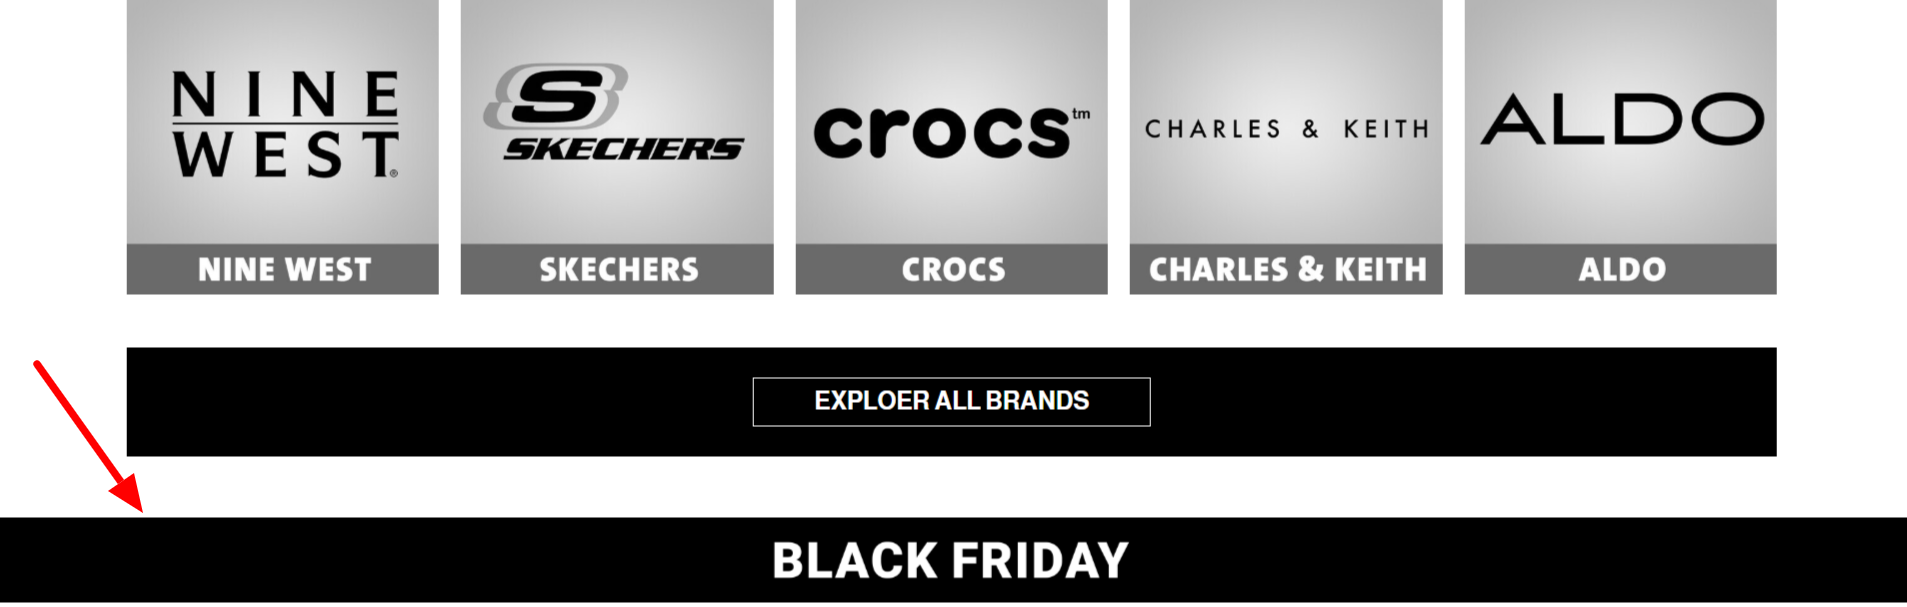
It will appear on the website as shown below:
Third: Saving the Department
1. Review: Double-check all the information entered to ensure accuracy.
2. Save: Click the "Save" button (the blue button located at the bottom right).
3. Confirmation: The system will create the department and automatically redirect you back to the Departments List.
Important Notes:
- Use Clear Names: Choose concise and descriptive titles to ensure a better User Experience (UX).
- Accuracy in Translation: Ensure the Arabic and English translations are accurate to provide seamless Bilingual Support.
- Strategic Sorting: Select appropriate sorting numbers to organize the display order of departments effectively.
- High-Quality Visuals: Upload high-resolution images that professionally represent each department.
Troubleshooting
- Image Upload Issues: If your images fail to upload, please verify that the file size is within limits and the format is (JPG / JPEG).
- Missing Images: If no image is uploaded, the system will automatically display a Default Placeholder Image.
- Form Submission Errors: Ensure that all Required Fields are completed before clicking the Save button to avoid any data loss.