Introduction
Brands represent the visual and commercial identity that grants your products credibility and value. In your online store, a brand is more than just a "logo" or a "name"; it is a smart classification tool designed to organize products based on their original manufacturer or supplier.
The Importance of Brands in Your Store:
- Building Trust: Helps customers instantly recognize product quality through the names of brands they trust (e.g., Nike).
- Easier Navigation (Filtering): Brands act as a secondary search engine; they appear in a dedicated list, allowing customers to filter products and view a specific brand with a single click.
- Strategic Direction: Through the control panel, you can link each brand to a specific main department, ensuring the right brands appear in the right places.
- Enhanced Visual Appeal: The control panel allows you to upload a custom logo for each brand, making the storefront interface look more professional and attractive to shoppers.
Steps to Add a Brand
First: Accessing the Brand Creation Page
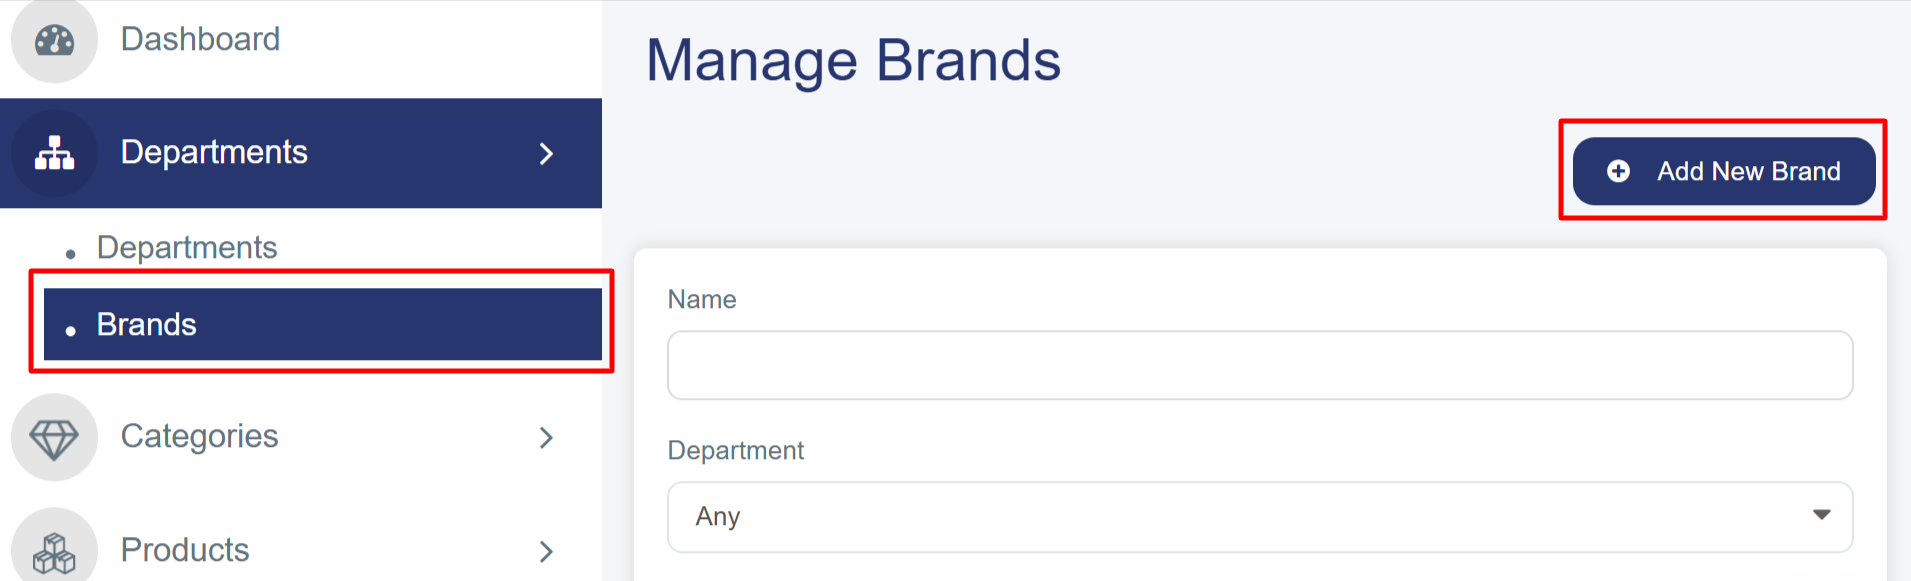
1. From the left sidebar, click on "Departments.
2. Select "Brands".
3. Click the blue "Add New Brand" button located at the top right.
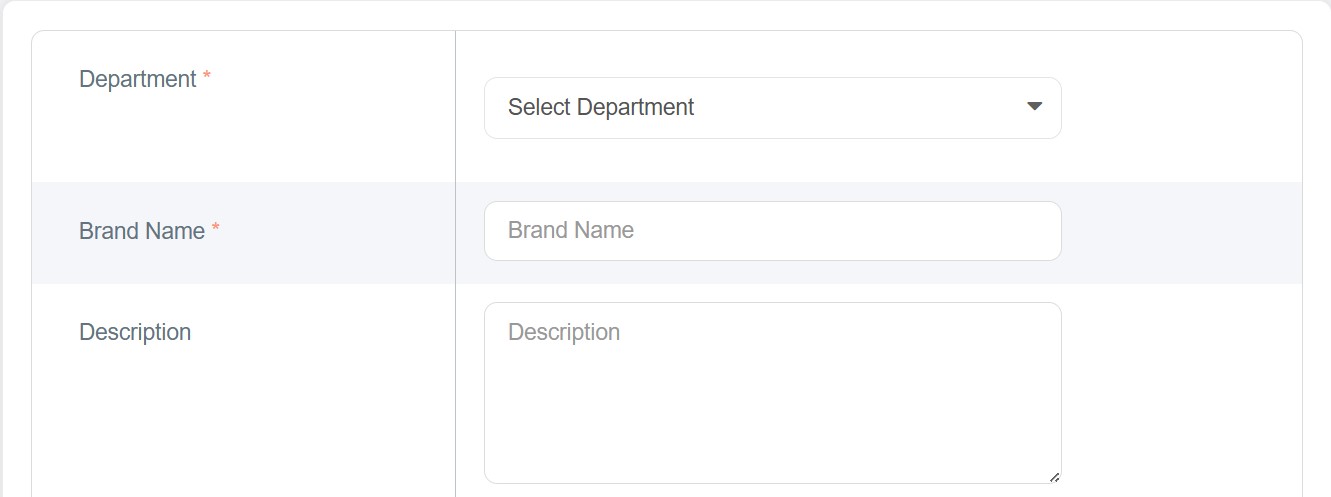
Second: Completing the "New Brand Details" Tab
Brands are used to categorize products and enable the "Filtering" feature for customers.
1. Select Department: Link the brand to its corresponding primary department (e.g., linking "Nike" to the "Women" department).
2. Name and Description: Enter the brand name and description in English.
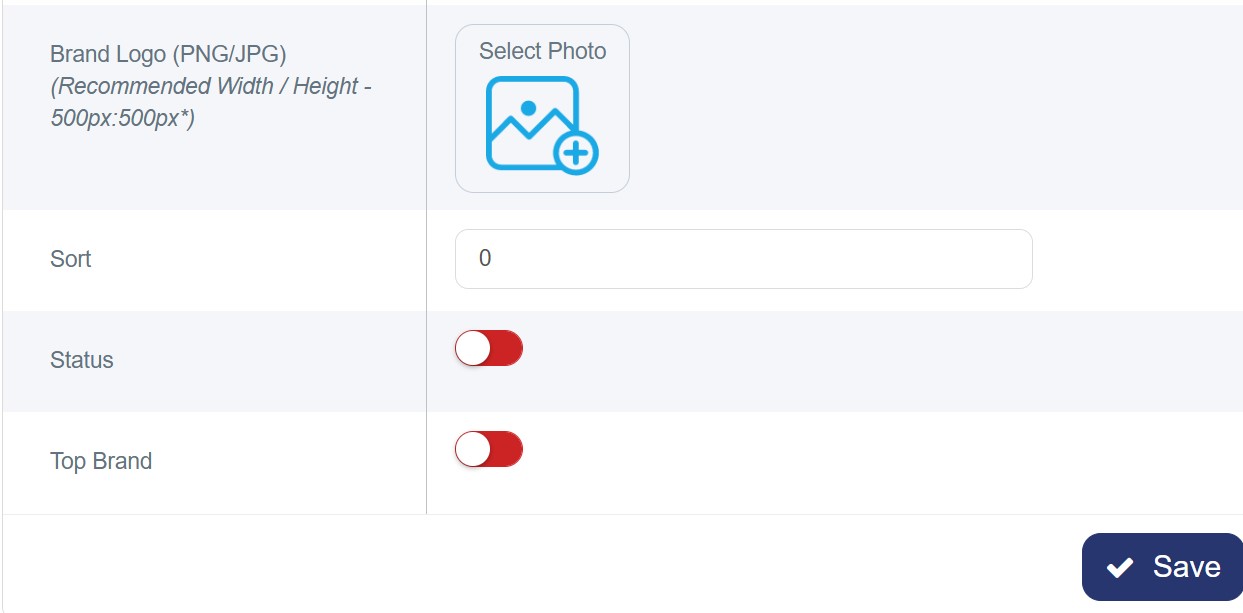
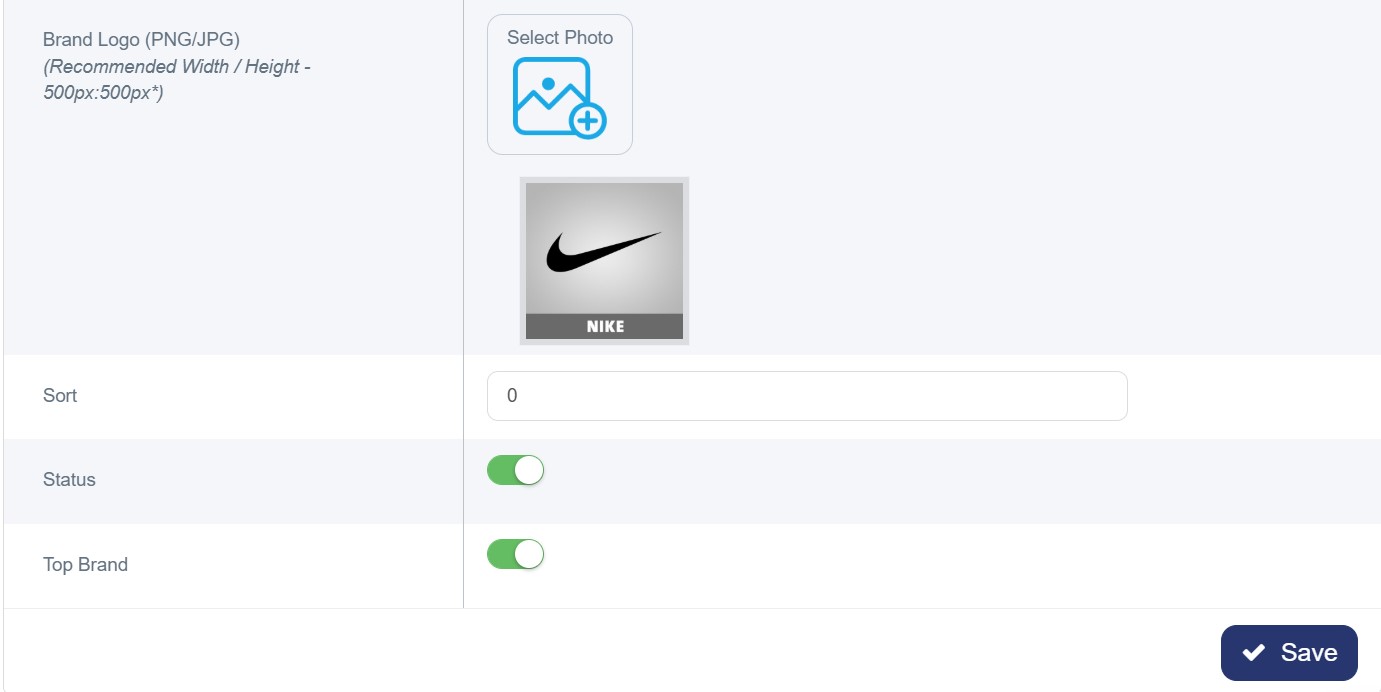
3. Brand Logo: Upload a clear image to serve as the brand's icon on the storefront.
4. Recommended Dimensions: 500px (Height) × 500px (Width) in (JPG / JPEG) format for optimal quality.
5. Sorting and Status: * Set the Sort Order (use "0" for top priority).
o Ensure the "Status" toggle is active.
o Enable the "Featured Brand" toggle if you want to highlight it on the department's homepage.
6. Save: Click "Save" to display the brand in the navigation bar and the side filter menu.
Example:
Brand information for "Dell" has been added under the "Women" department, using the recommended dimensions as shown in the image below:
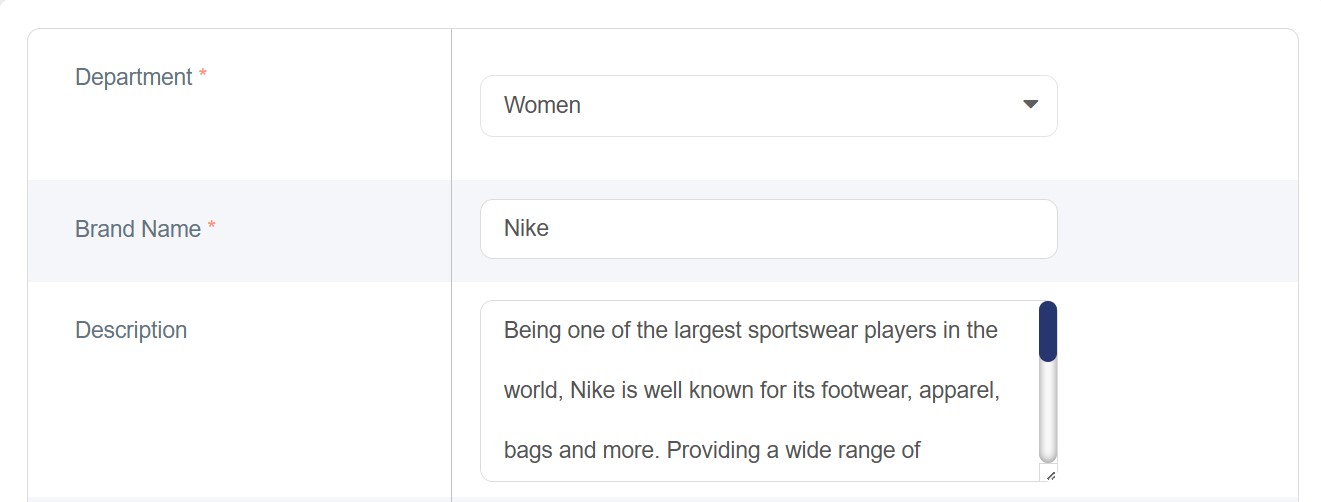
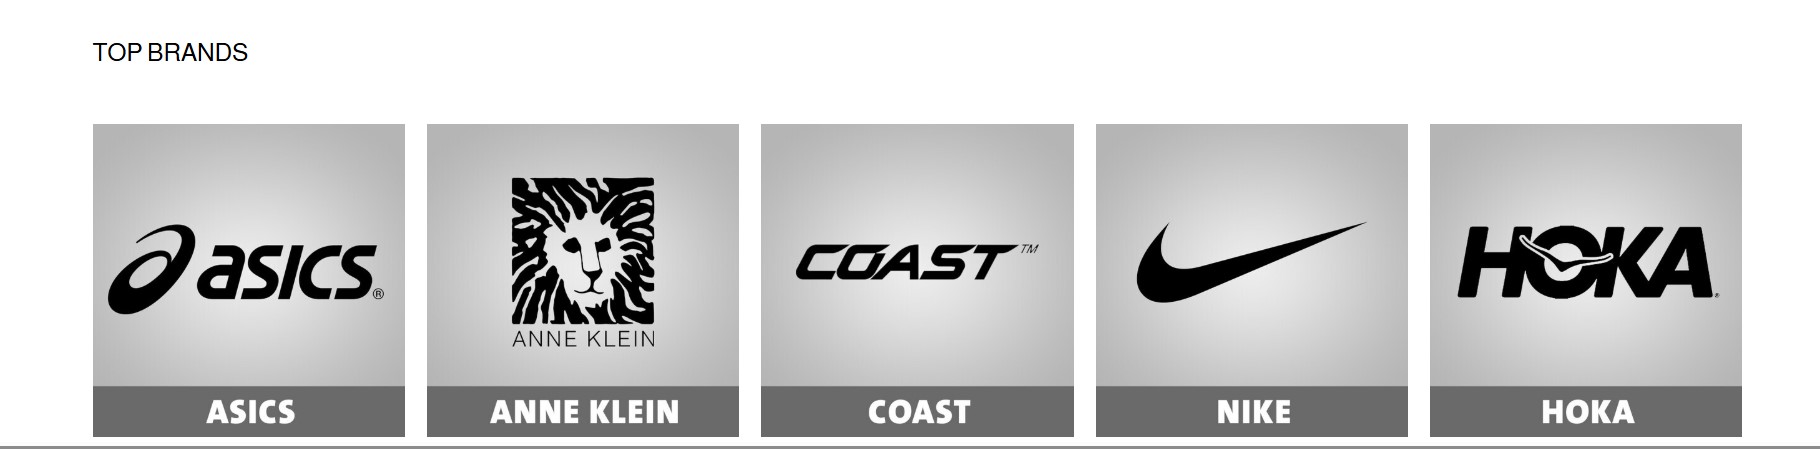
"When the 'Top Brand' toggle is enabled, the brand will be displayed under the 'Top Brands' section of the Women department on the homepage."
It will appear on the website as shown below:
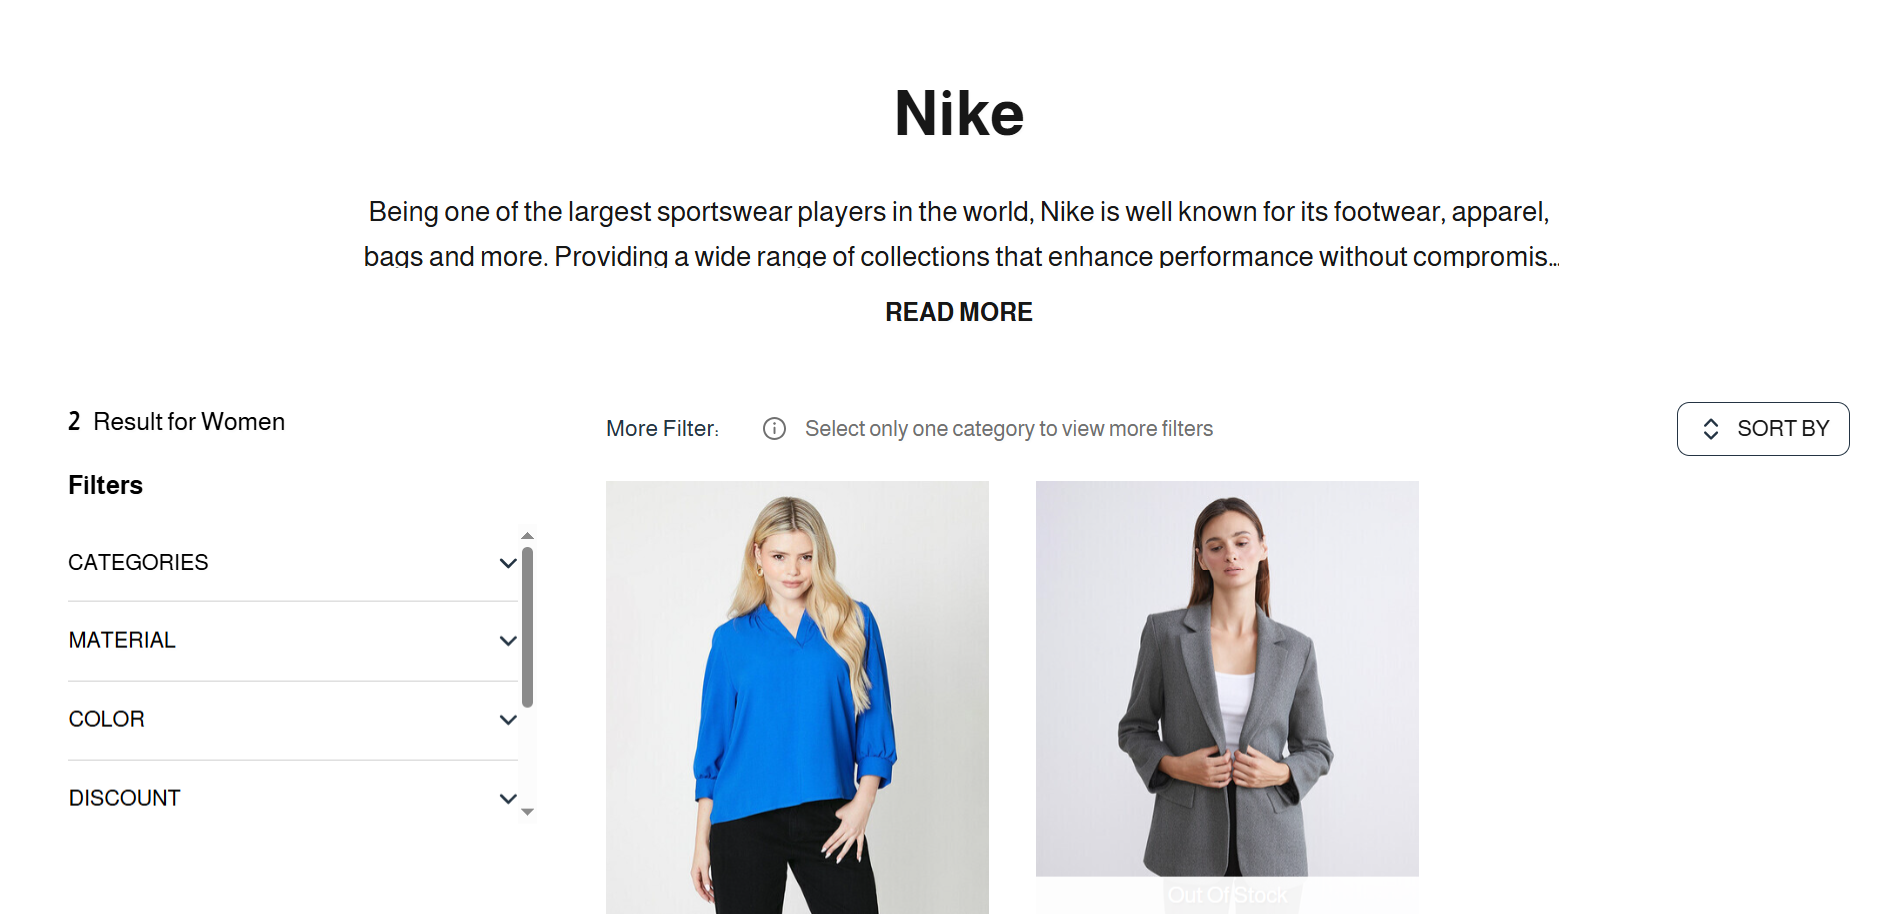
When clicking on the Dell brand image, all related details will be displayed as shown below:
Post-Creation Management
· Unique ID: Every brand is assigned a unique identification number.
· Management: You can edit, delete, or view products associated with the brand.
· Toggle Status: Switch the brand status (On/Off) at any time.
· Product Count: Displays the total number of products assigned to the brand.
General Guidelines & Troubleshooting
Important Notes:
· Descriptive Names: Use clear titles for a better User Experience (UX).
· Prerequisite: Always create a Main Department before adding a brand.
· Bilingual Accuracy: Ensure translation accuracy for Bilingual Support.
· Strategic Sorting: Organize the display order effectively using sort numbers.
Troubleshooting:
· Upload Issues: Check file size and ensure the format is (JPG / JPEG).
· Missing Images: A Default Placeholder will show if no image is uploaded.
· Form Errors: Complete all Mandatory Fields before saving.