1. Access the Create Product Page
• From the left sidebar, click on "Products"
• Select "All Products"
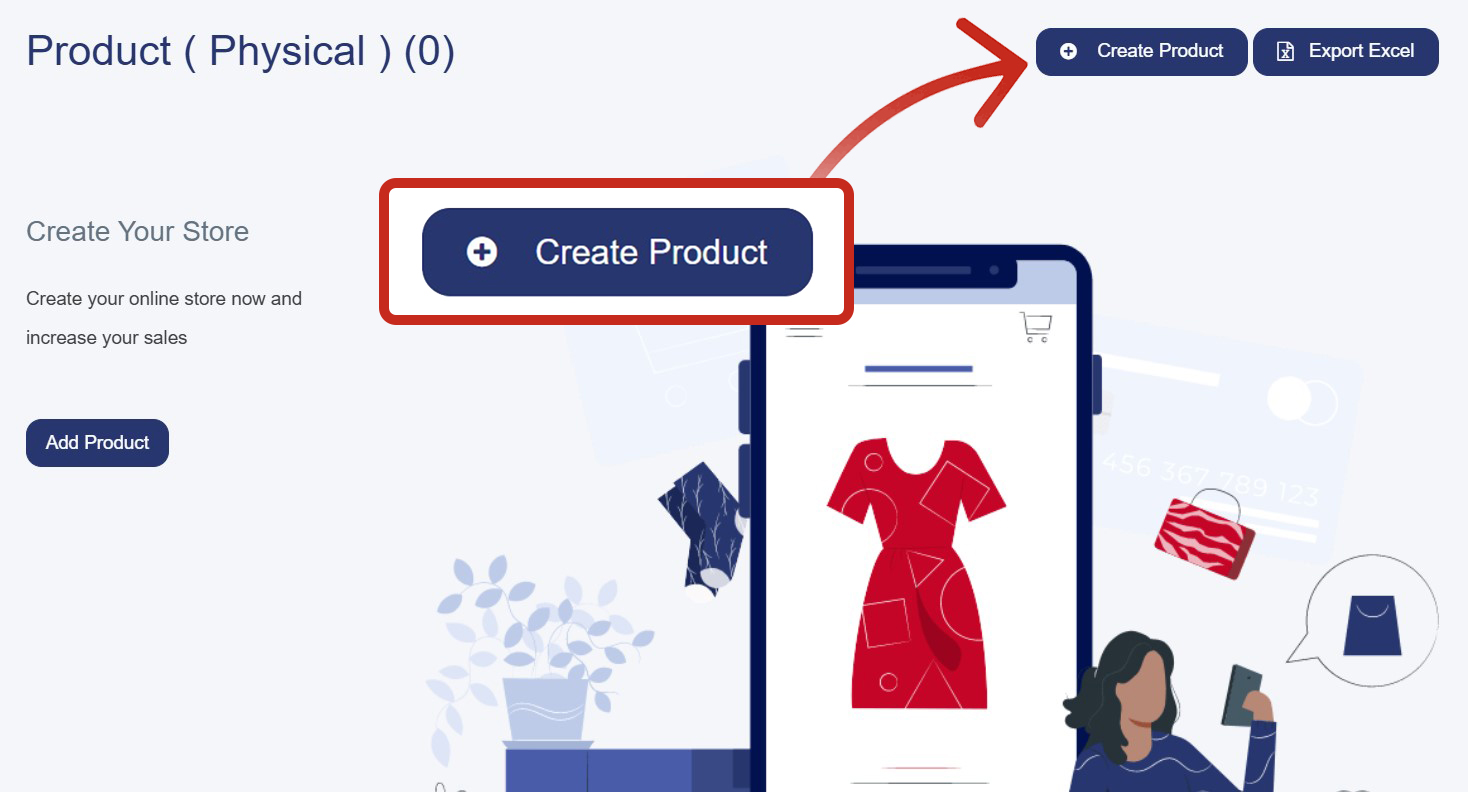
• Click the blue "Create Product" button in the top-right corner
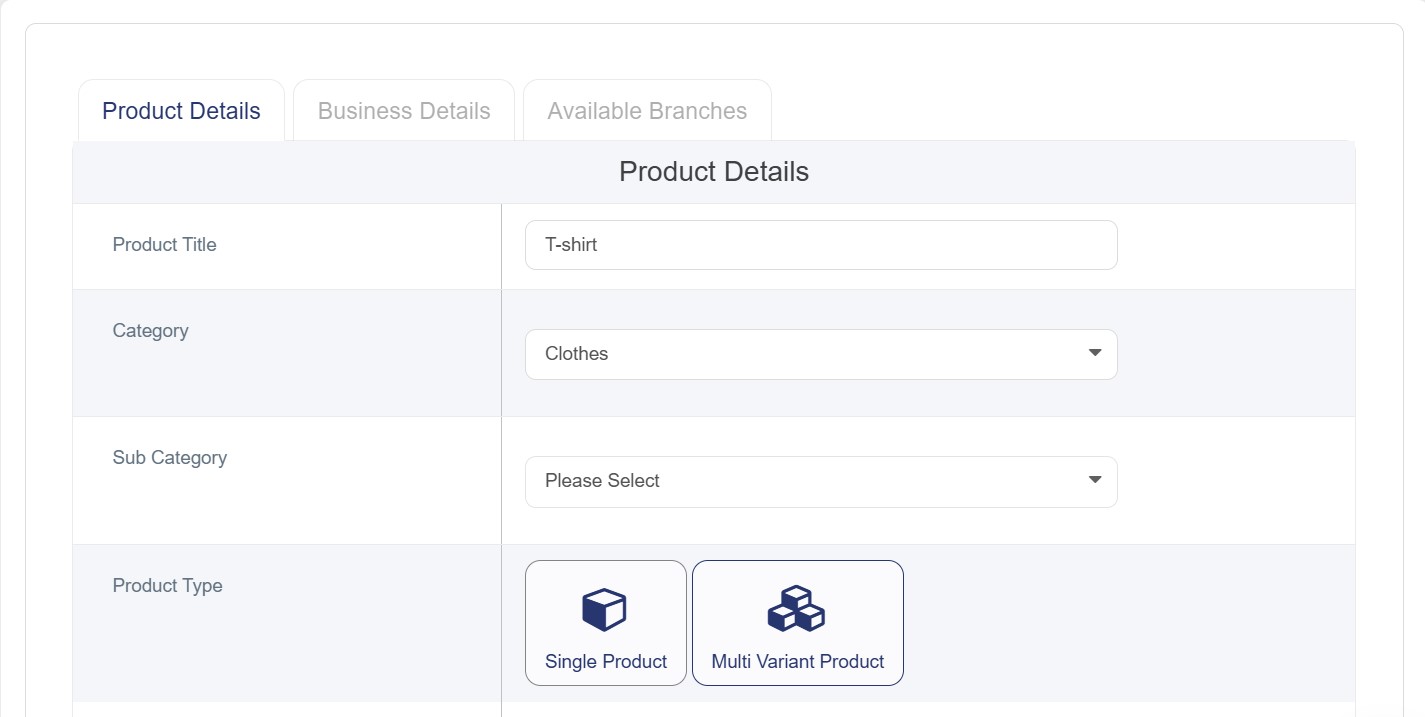
2. Fill in Product Details Tab
Required options :
• Product Title: Enter the product name in English
• Category: Select from dropdown (e.g., Clothes, accessories)
• Product Type: choose Multi variant product ( Modifier options will not appear as it does in single product)
• Weight: Enter the weight of your product (If no weight value is available enter “0”)
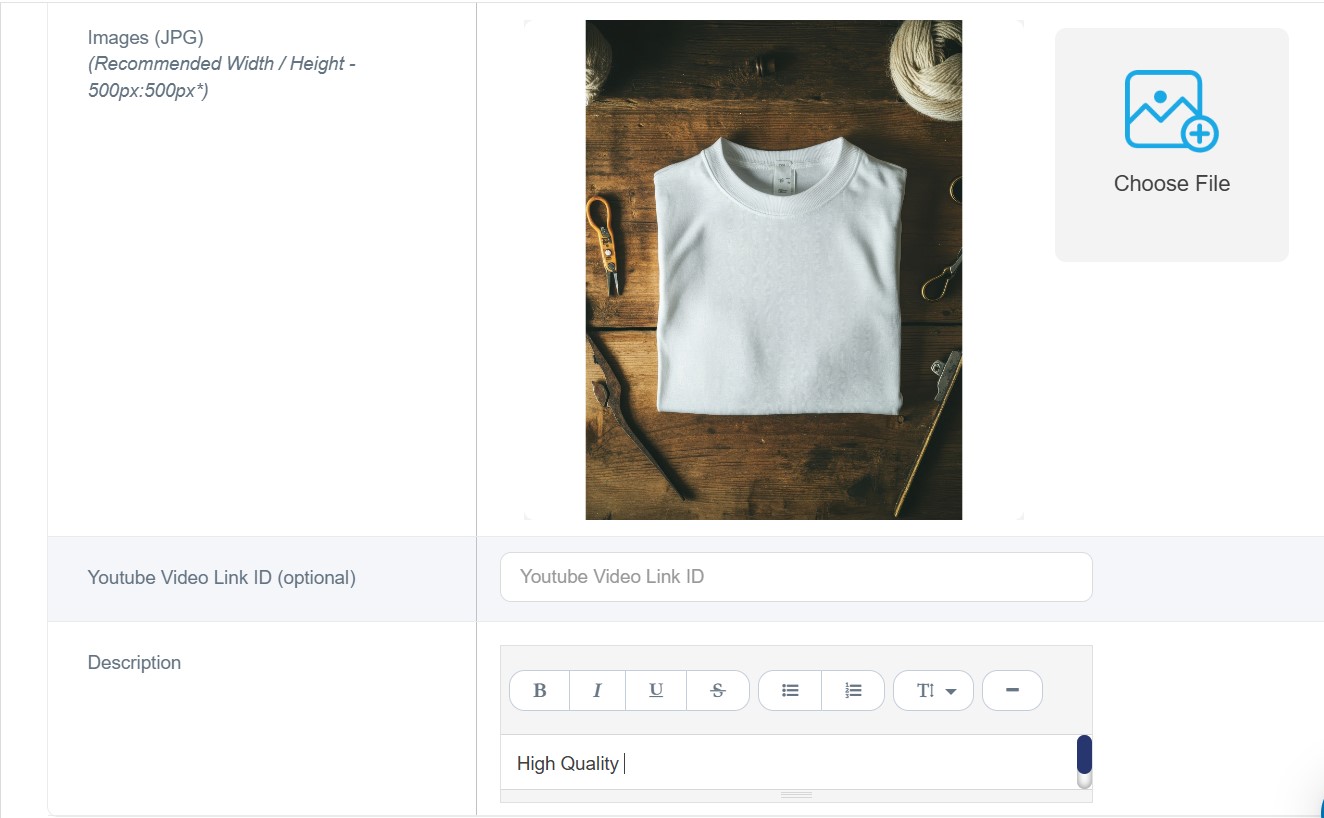
• Product Image: Click "Choose File" to upload product image (The image size is 500x500 pixels and the format is JPG/JPEG)
Note: (If no image is added ,you will not be capable to save your product ,if you don’t have any we recommend to choose the default image)
Optional options:
• Sub Category: Choose appropriate sub-category
• Sort Order: Enter display order number (noting the lower numbers will appear first)
• Preparation Time: Set preparation time if applicable
• Special Tag: Add tag for the product (new, limited, special product, etc…)
• Tags: Add relevant tags.
• Youtube video link: add the part of the link after “=” ,e.g: https://www.youtube.com/watch?v=mjovEakZusk
• Description: Write detailed product description.
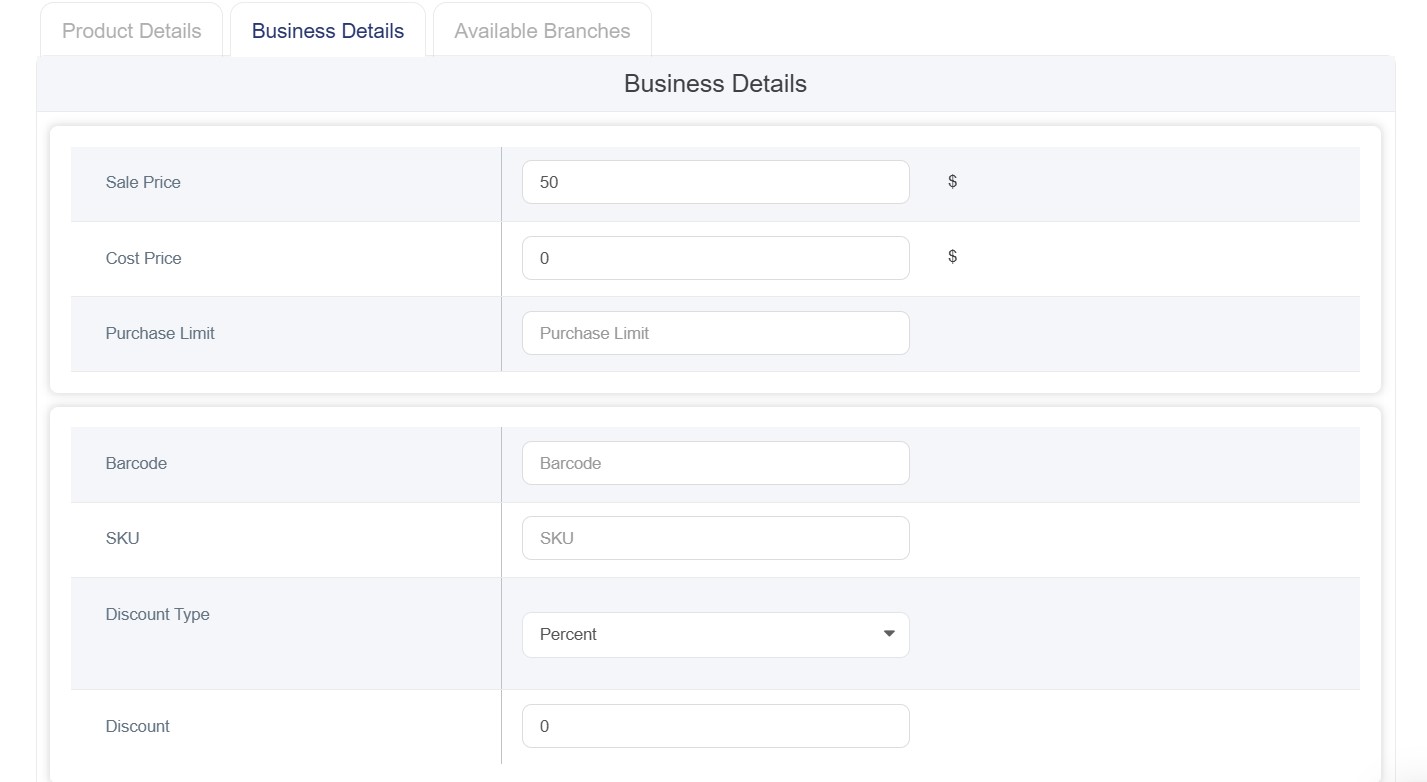
3. Complete Business Details Tab
• Sale Price: Enter the selling price
• Cost Price: Enter the cost price
Note:(Both of prices are required options if you have no values enter”0”)
• Purchase Limit: Set maximum purchase quantity
• Barcode: Enter product barcode
• SKU: Enter Stock Keeping Unit code
• Discount Type: Select discount type from dropdown (it can be either percentage or amount)
Discount: Enter discount value
4. Configure Available Branches Tab
• Available in All Branches: Toggle ON if product is available in all branches
Or select specific branches where the product will be available
• Track inventory: If you toggle on this option and the quantity of your product is”0” the product will appear “out of stock” on the website.
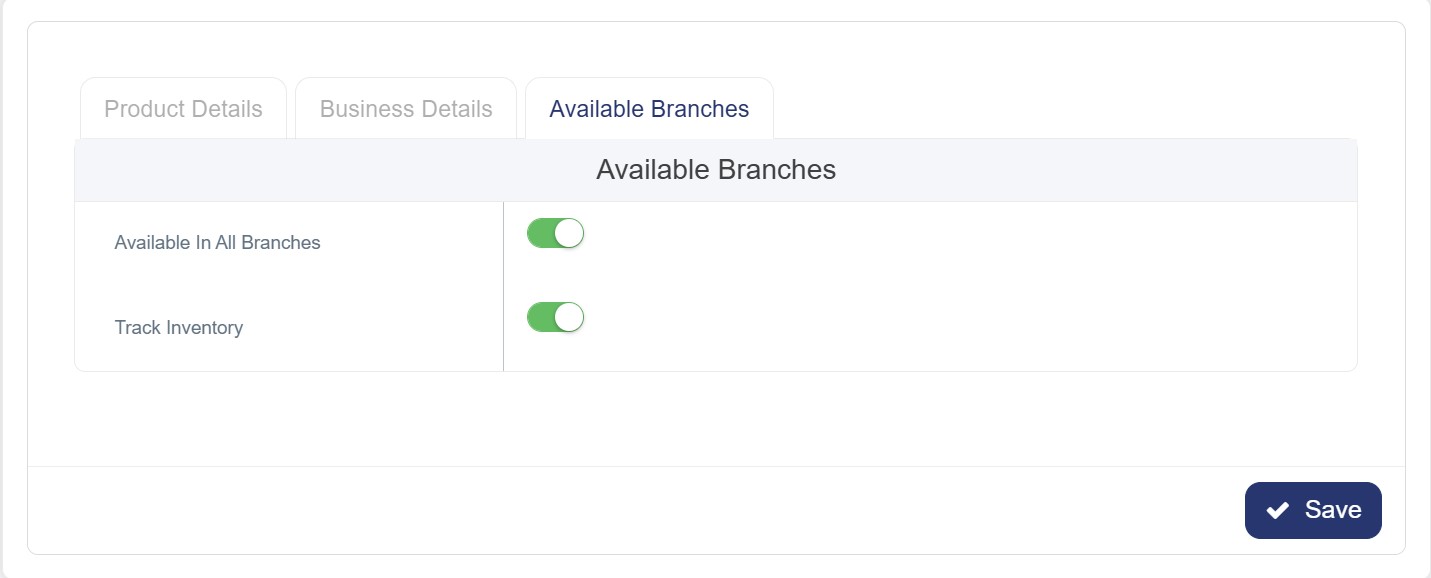
5. Save the product
The product will appear on the product list
6. Access the Product
• From the products list, find the product you want to add variants to
• Click on "Variant" button next to the product

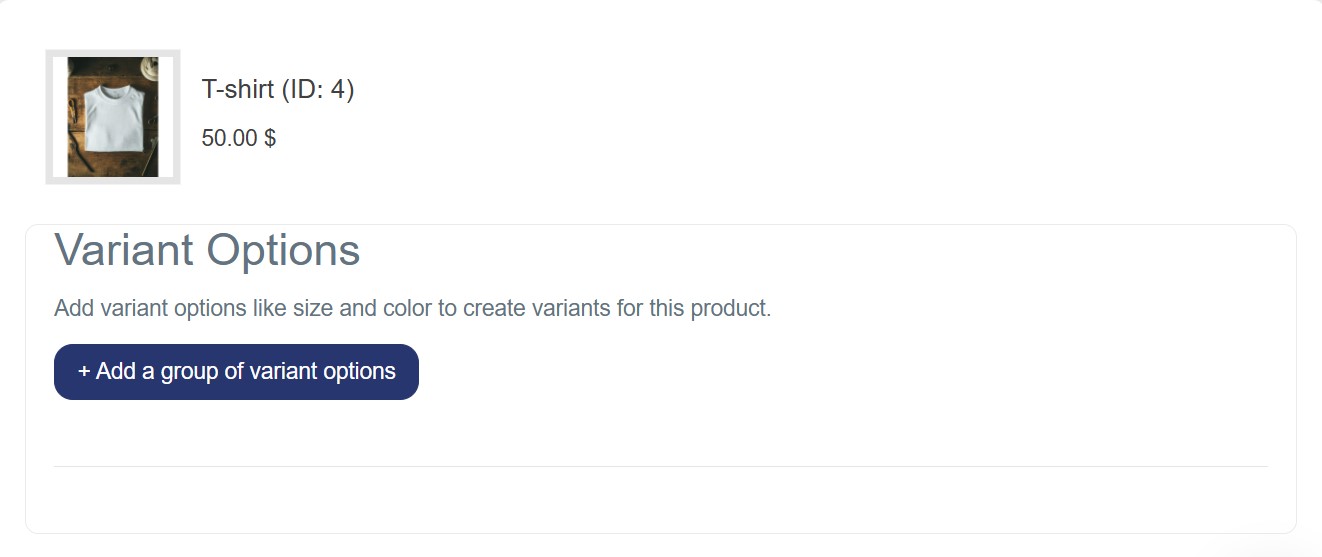
7. Configure Variant Options
Once you're on the Product Variants page:
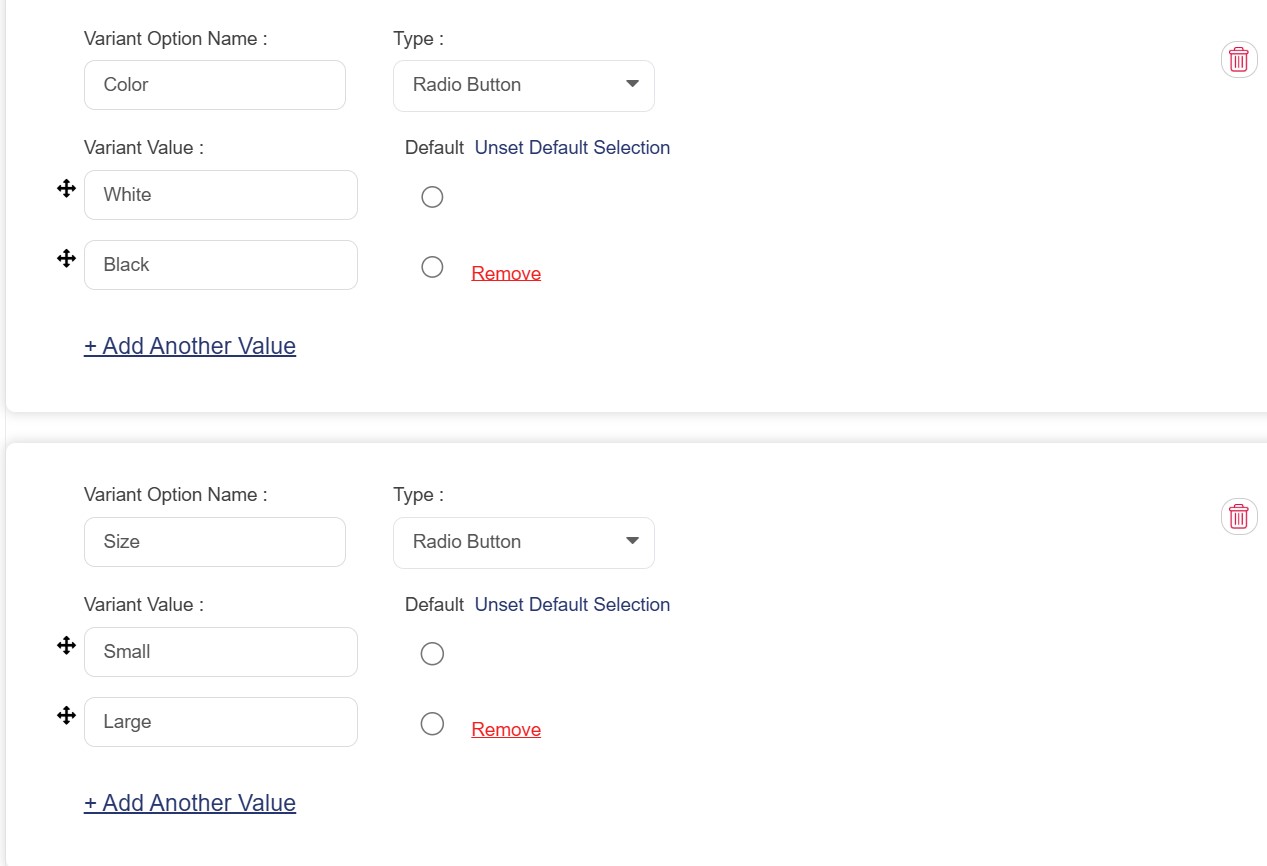
A. Add Variant Option Name:
• Variant Option Name: Enter the variant type in English (e.g., "Color", "Size")
• Type: Select the display type from dropdown (Radio Button, Dropdown, etc.)
B. Add Variant Values:
• Variant Value: Enter the first value in English (e.g., "Red", "Small")
• Default: Select the radio button if you want this to be the default option
• Click "+ Add Another Value" to add more values (e.g., "Blue", "Green" or "Medium", "Large")
8. Add Multiple Variant Groups (Optional)
• If you need multiple variant types (e.g., both Size and Color):
• Click "+ Add a group of variant options" button
• Repeat step 3 for the new variant group
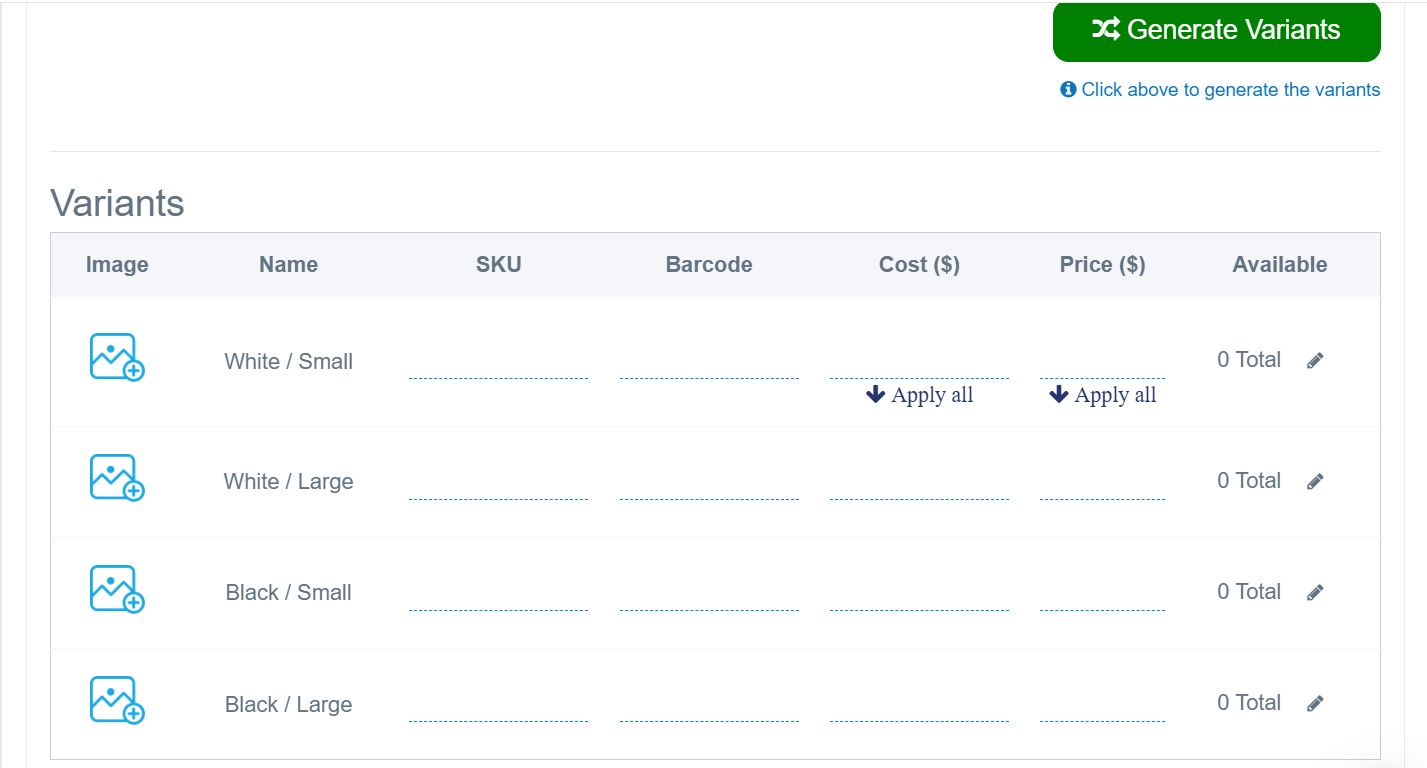
9. Generate Variants
• After adding all variant options and values, click the green "Generate Variants" button at the bottom right
• This will create all possible combinations of your variants
10. Save Changes
• Make sure to save your product configuration
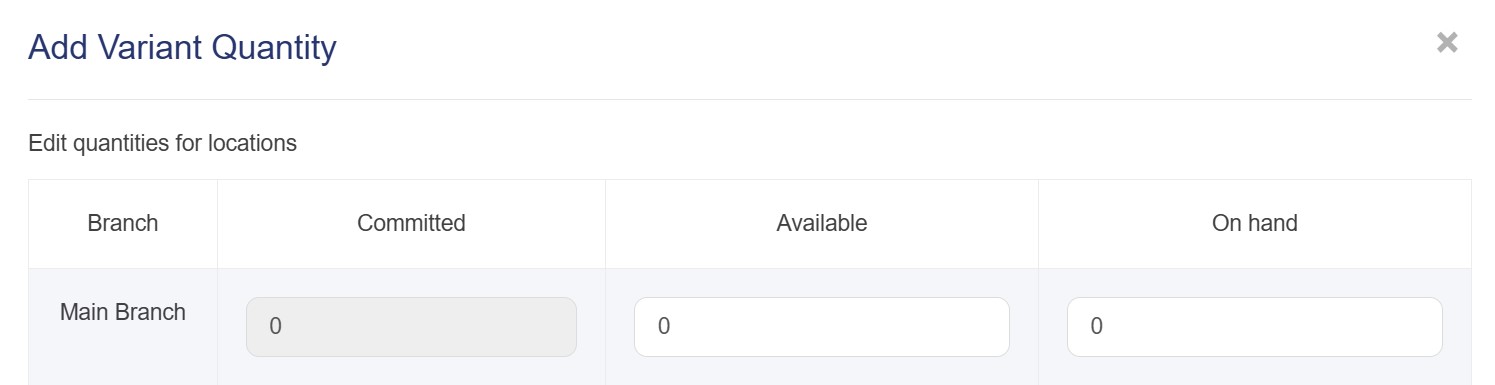
Note: If you dont add the quantity for each pair of the variants ,they will appear "out of stock" on the website
to prevent this event add the quantity for each variant
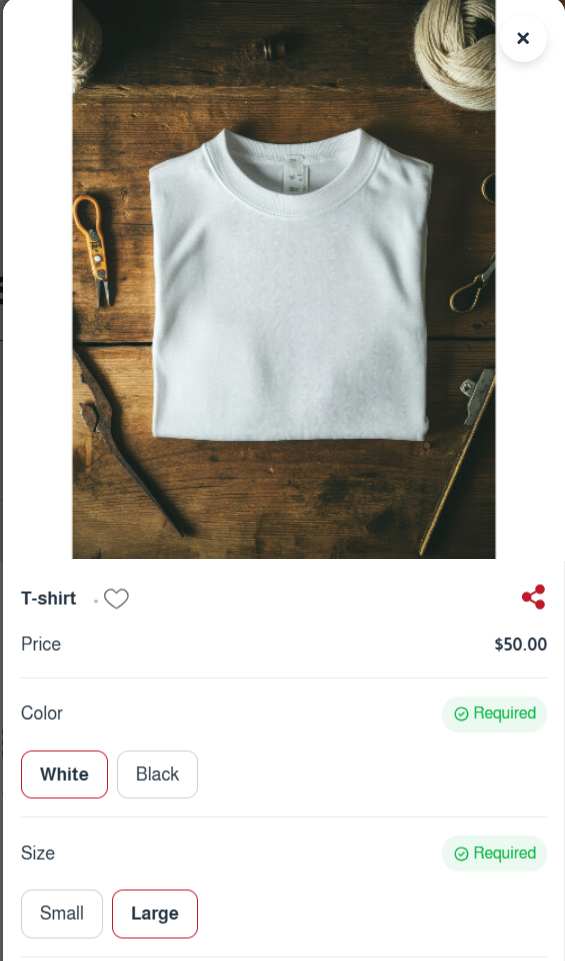
Result
If you add multiple variants all variants will be related to each other by default so when you click generate variants,they will appear automatically as combinations.
For example, if you add:
• Size: Small, Medium, Large
• Color: Red, Blue, Green
It will generate 9 variants (3 sizes × 3 colors)
Note: You can add the sku, Barcode, cost , price and the quantity of each pair of variant you generate.
After adding the product to the store it will appear like the picture below: